Happy Valentine’s Day! Whether you’re in a relationship or single today, you are SO DEEPLY LOVED!
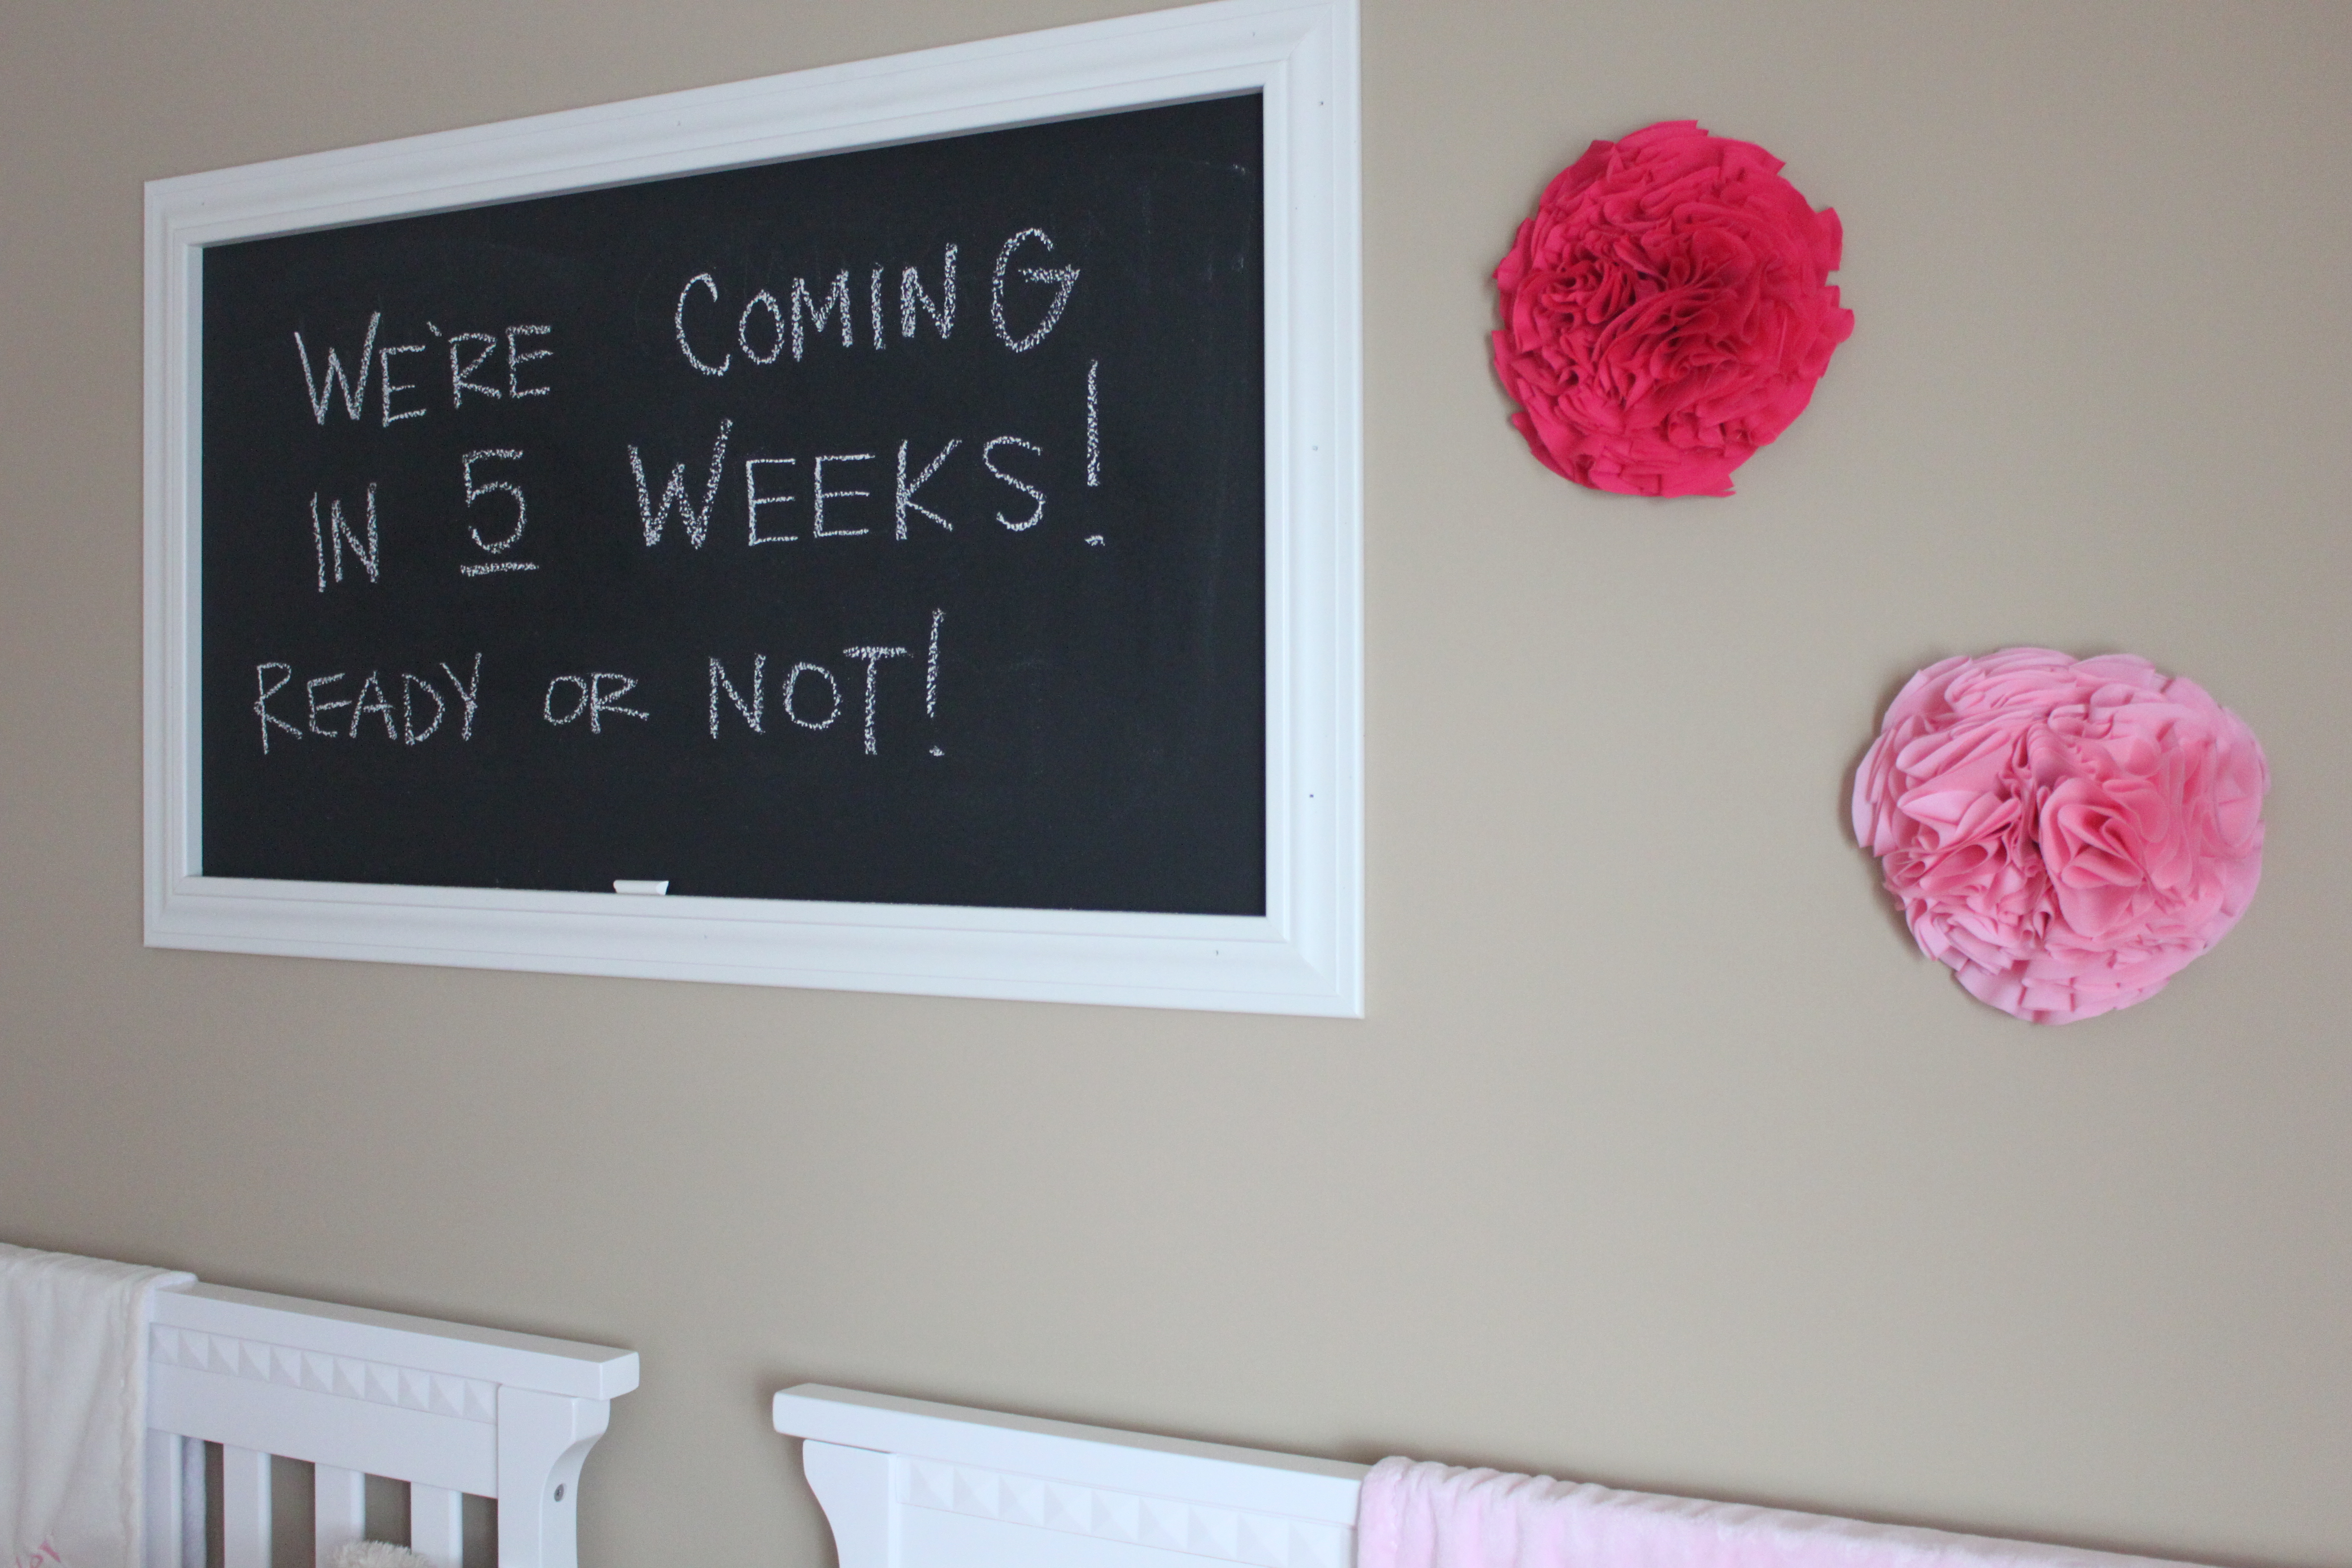
I’m spending my Valentine’s Day afternoon crafting up some love for the twins’ nursery! Believe it or not, they will be here in just 5 weeks, maybe even sooner! We are working on final touches for their room, and wanted to find something to spruce up the wall above their cribs. I didn’t want to hang anything that could come crashing down on them, so we opted to paint a chalkboard and nail some trim around it. To add pops of color, I’m working on these adorable wall flowers that we’ll be able to securely tack to the wall.
 These are simple to make, and take about 30 minutes per wall flower from start to finish. What I love about this technique is that it could be adapted to make endless sized projects! I’ve made a necklace out of mini flowers, and am planning to make the girls some headbands as well!
DIY: Fabric Wall Flowers
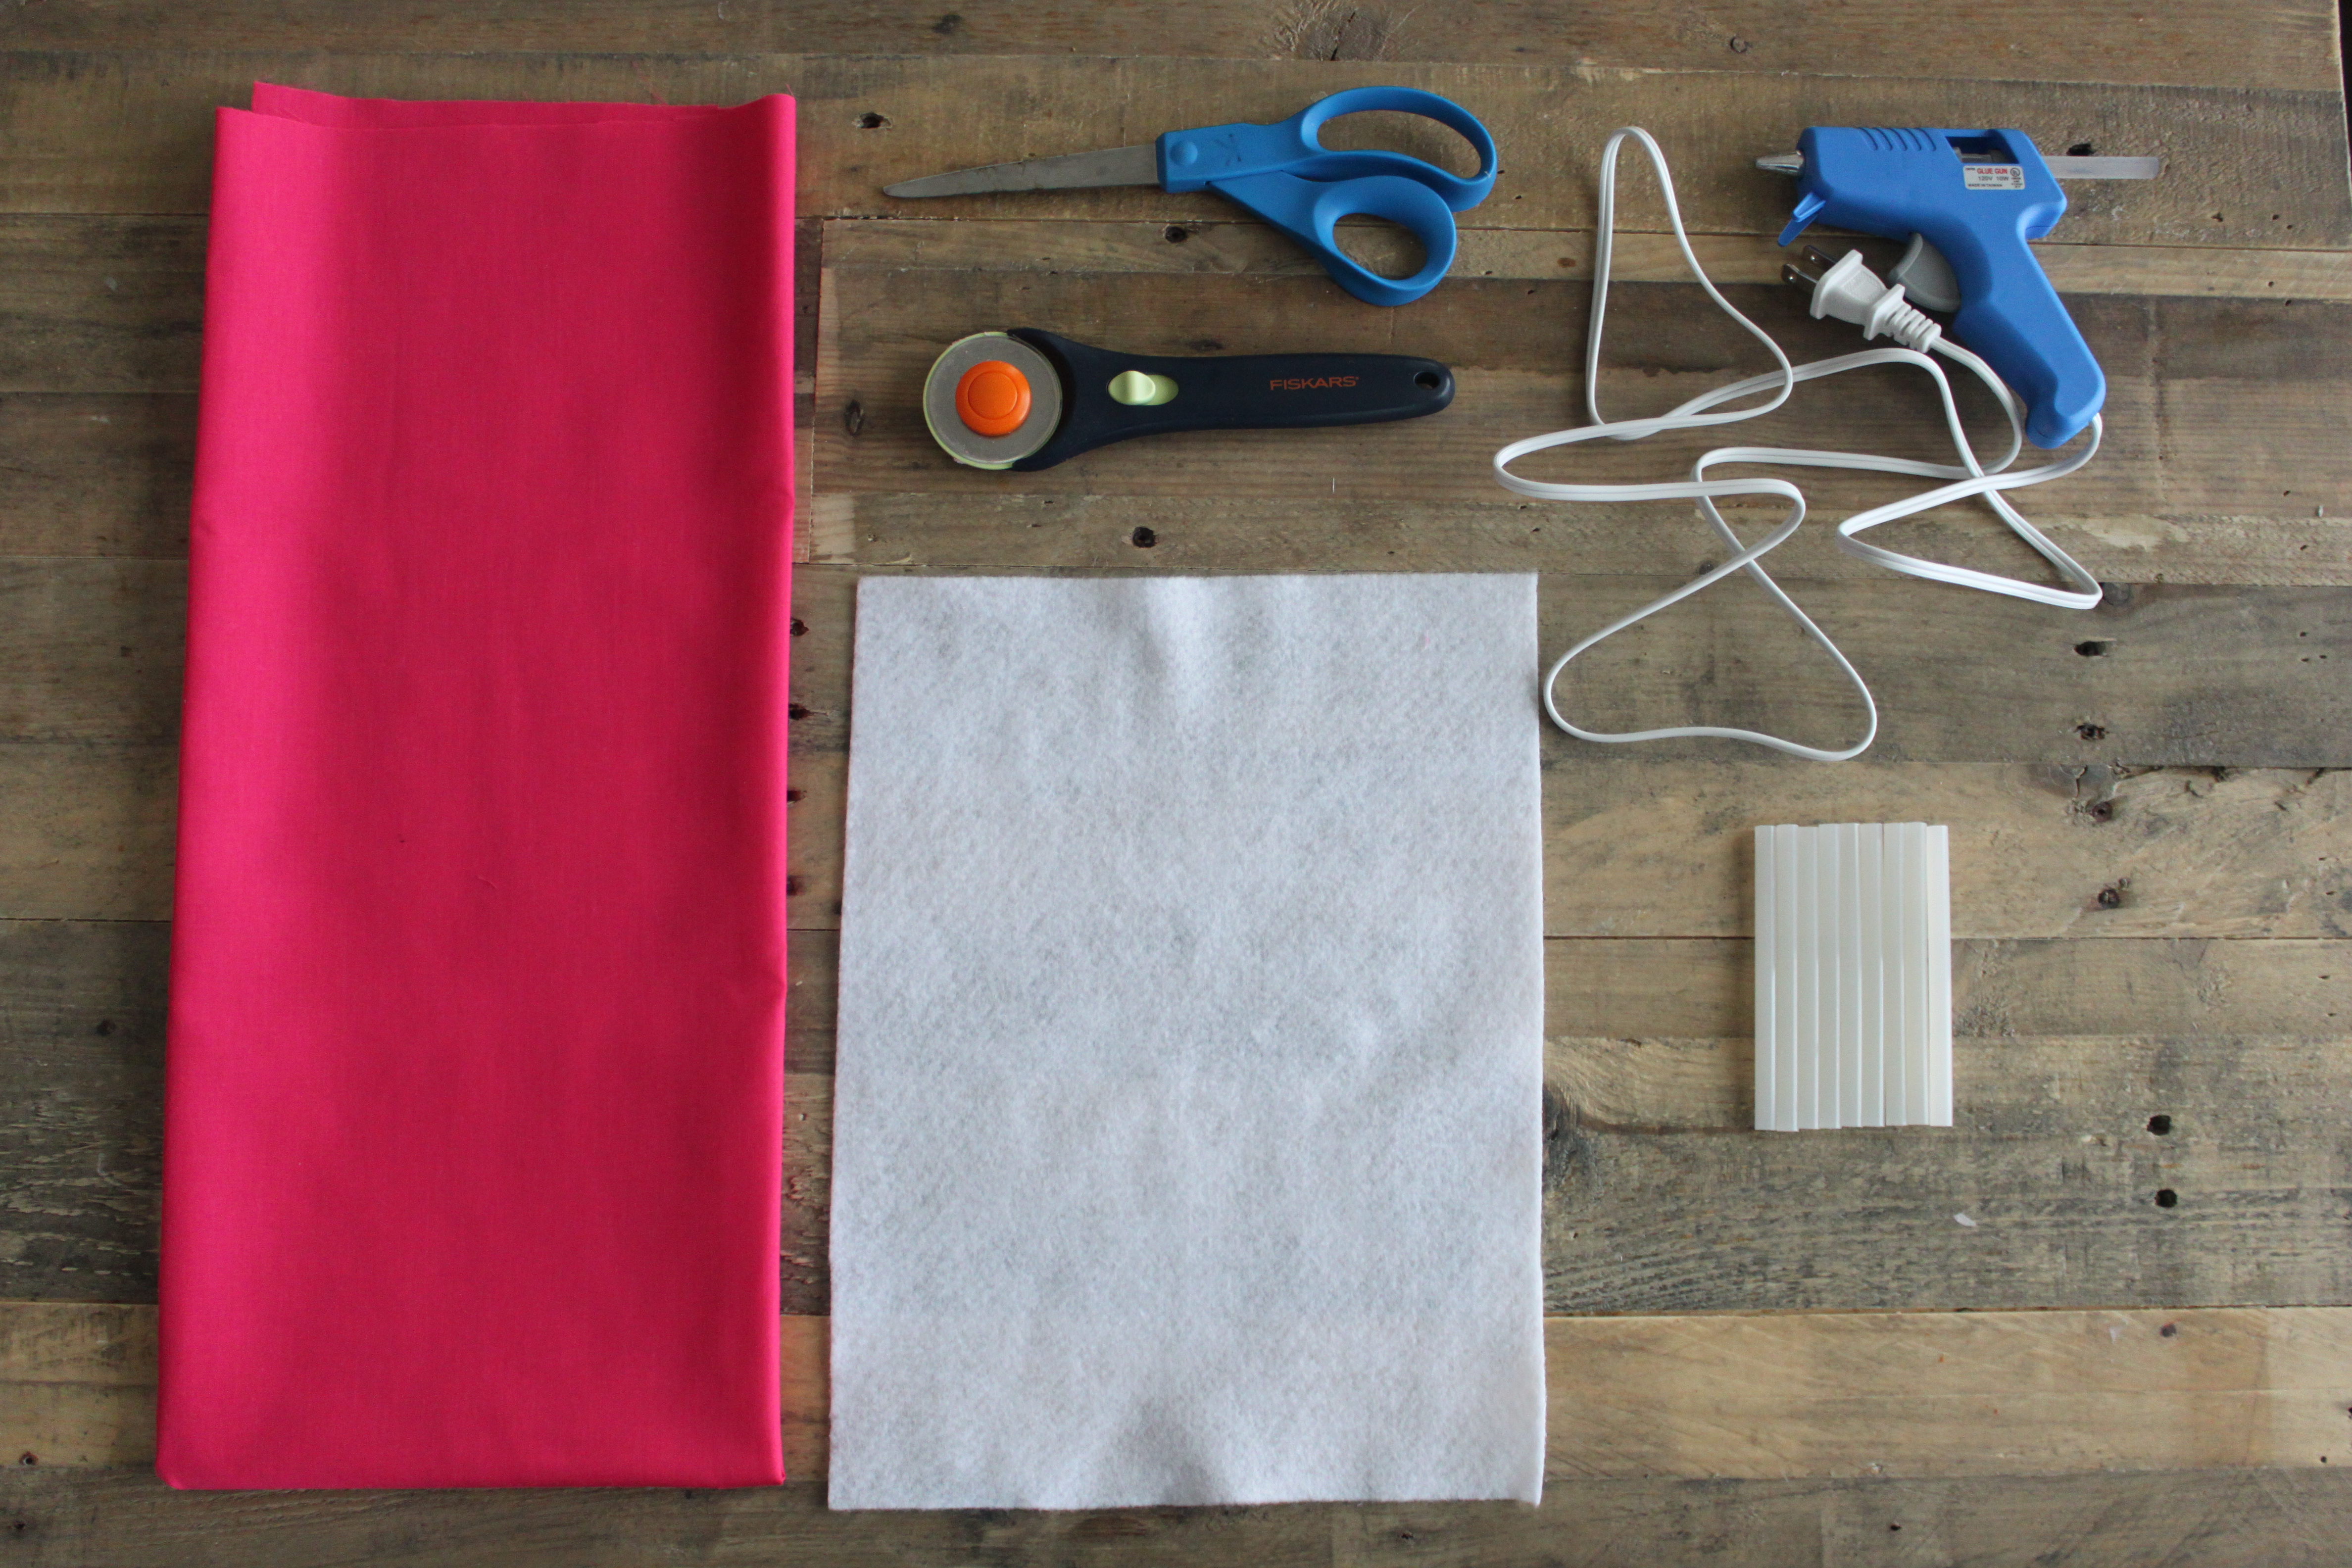 Supplies needed:
-1 yard cotton fabric
-1 felt square
-scissors or rotary fabric cutter
-hot glue gun and glue
Directions:
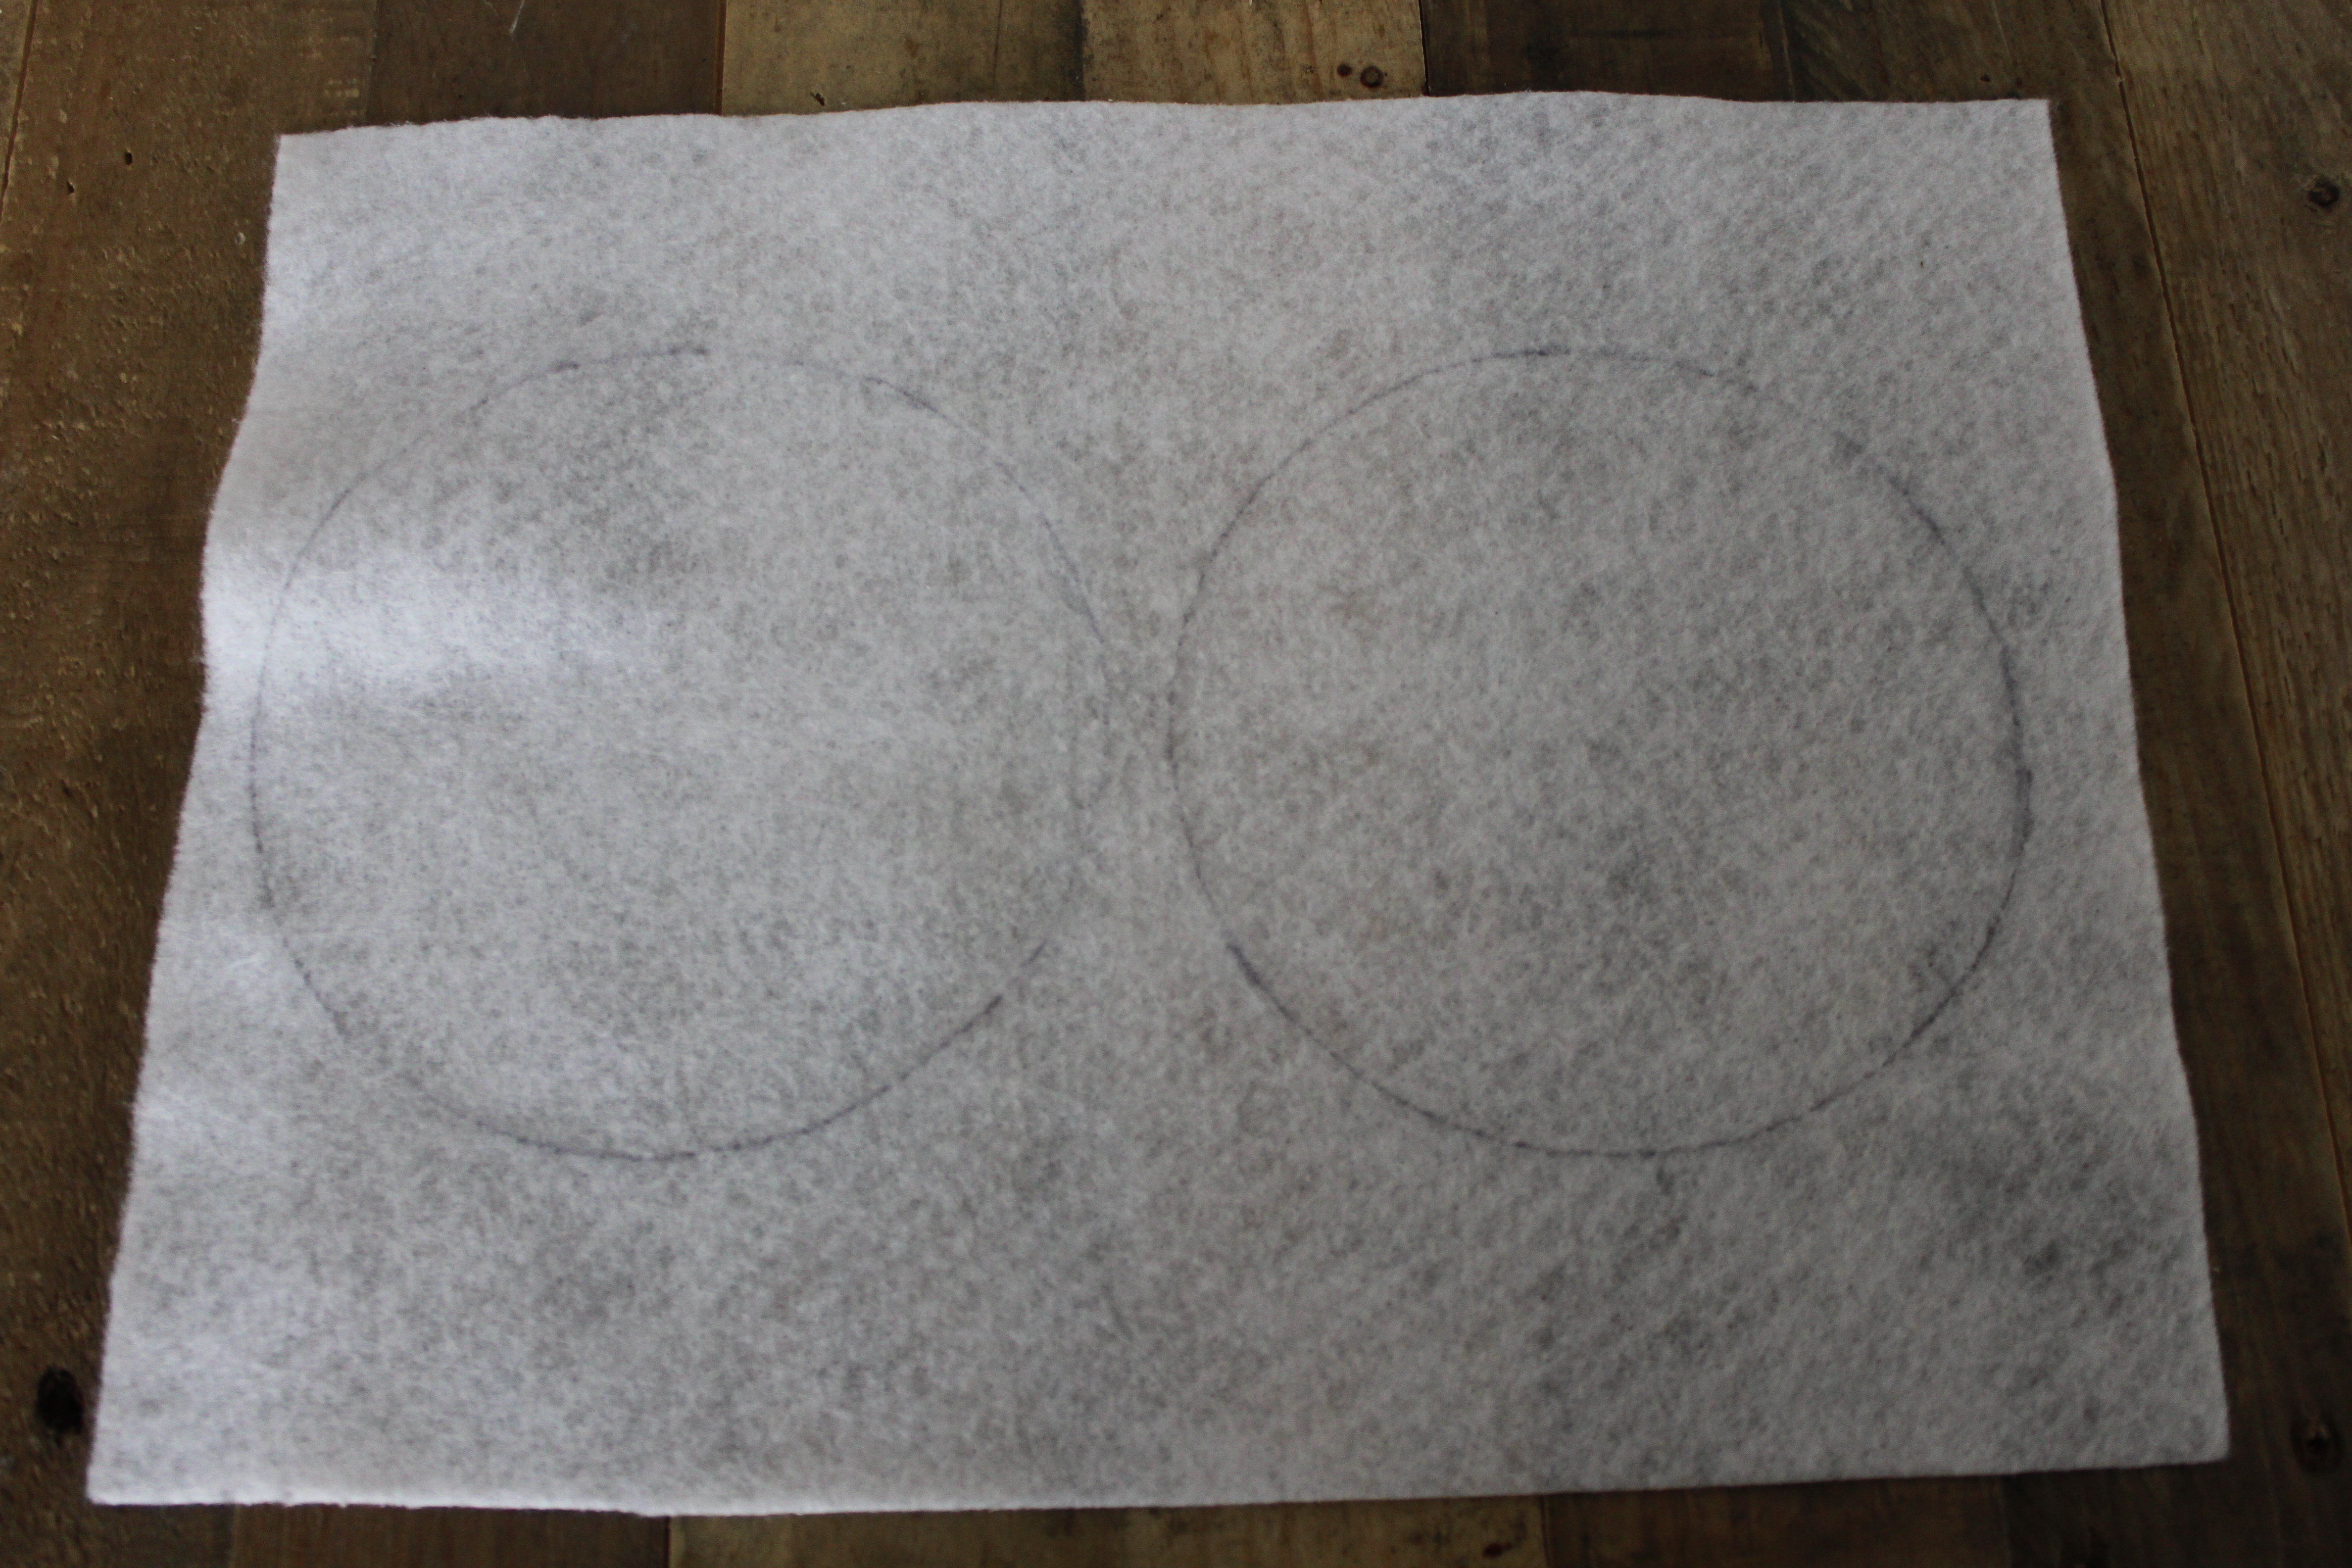
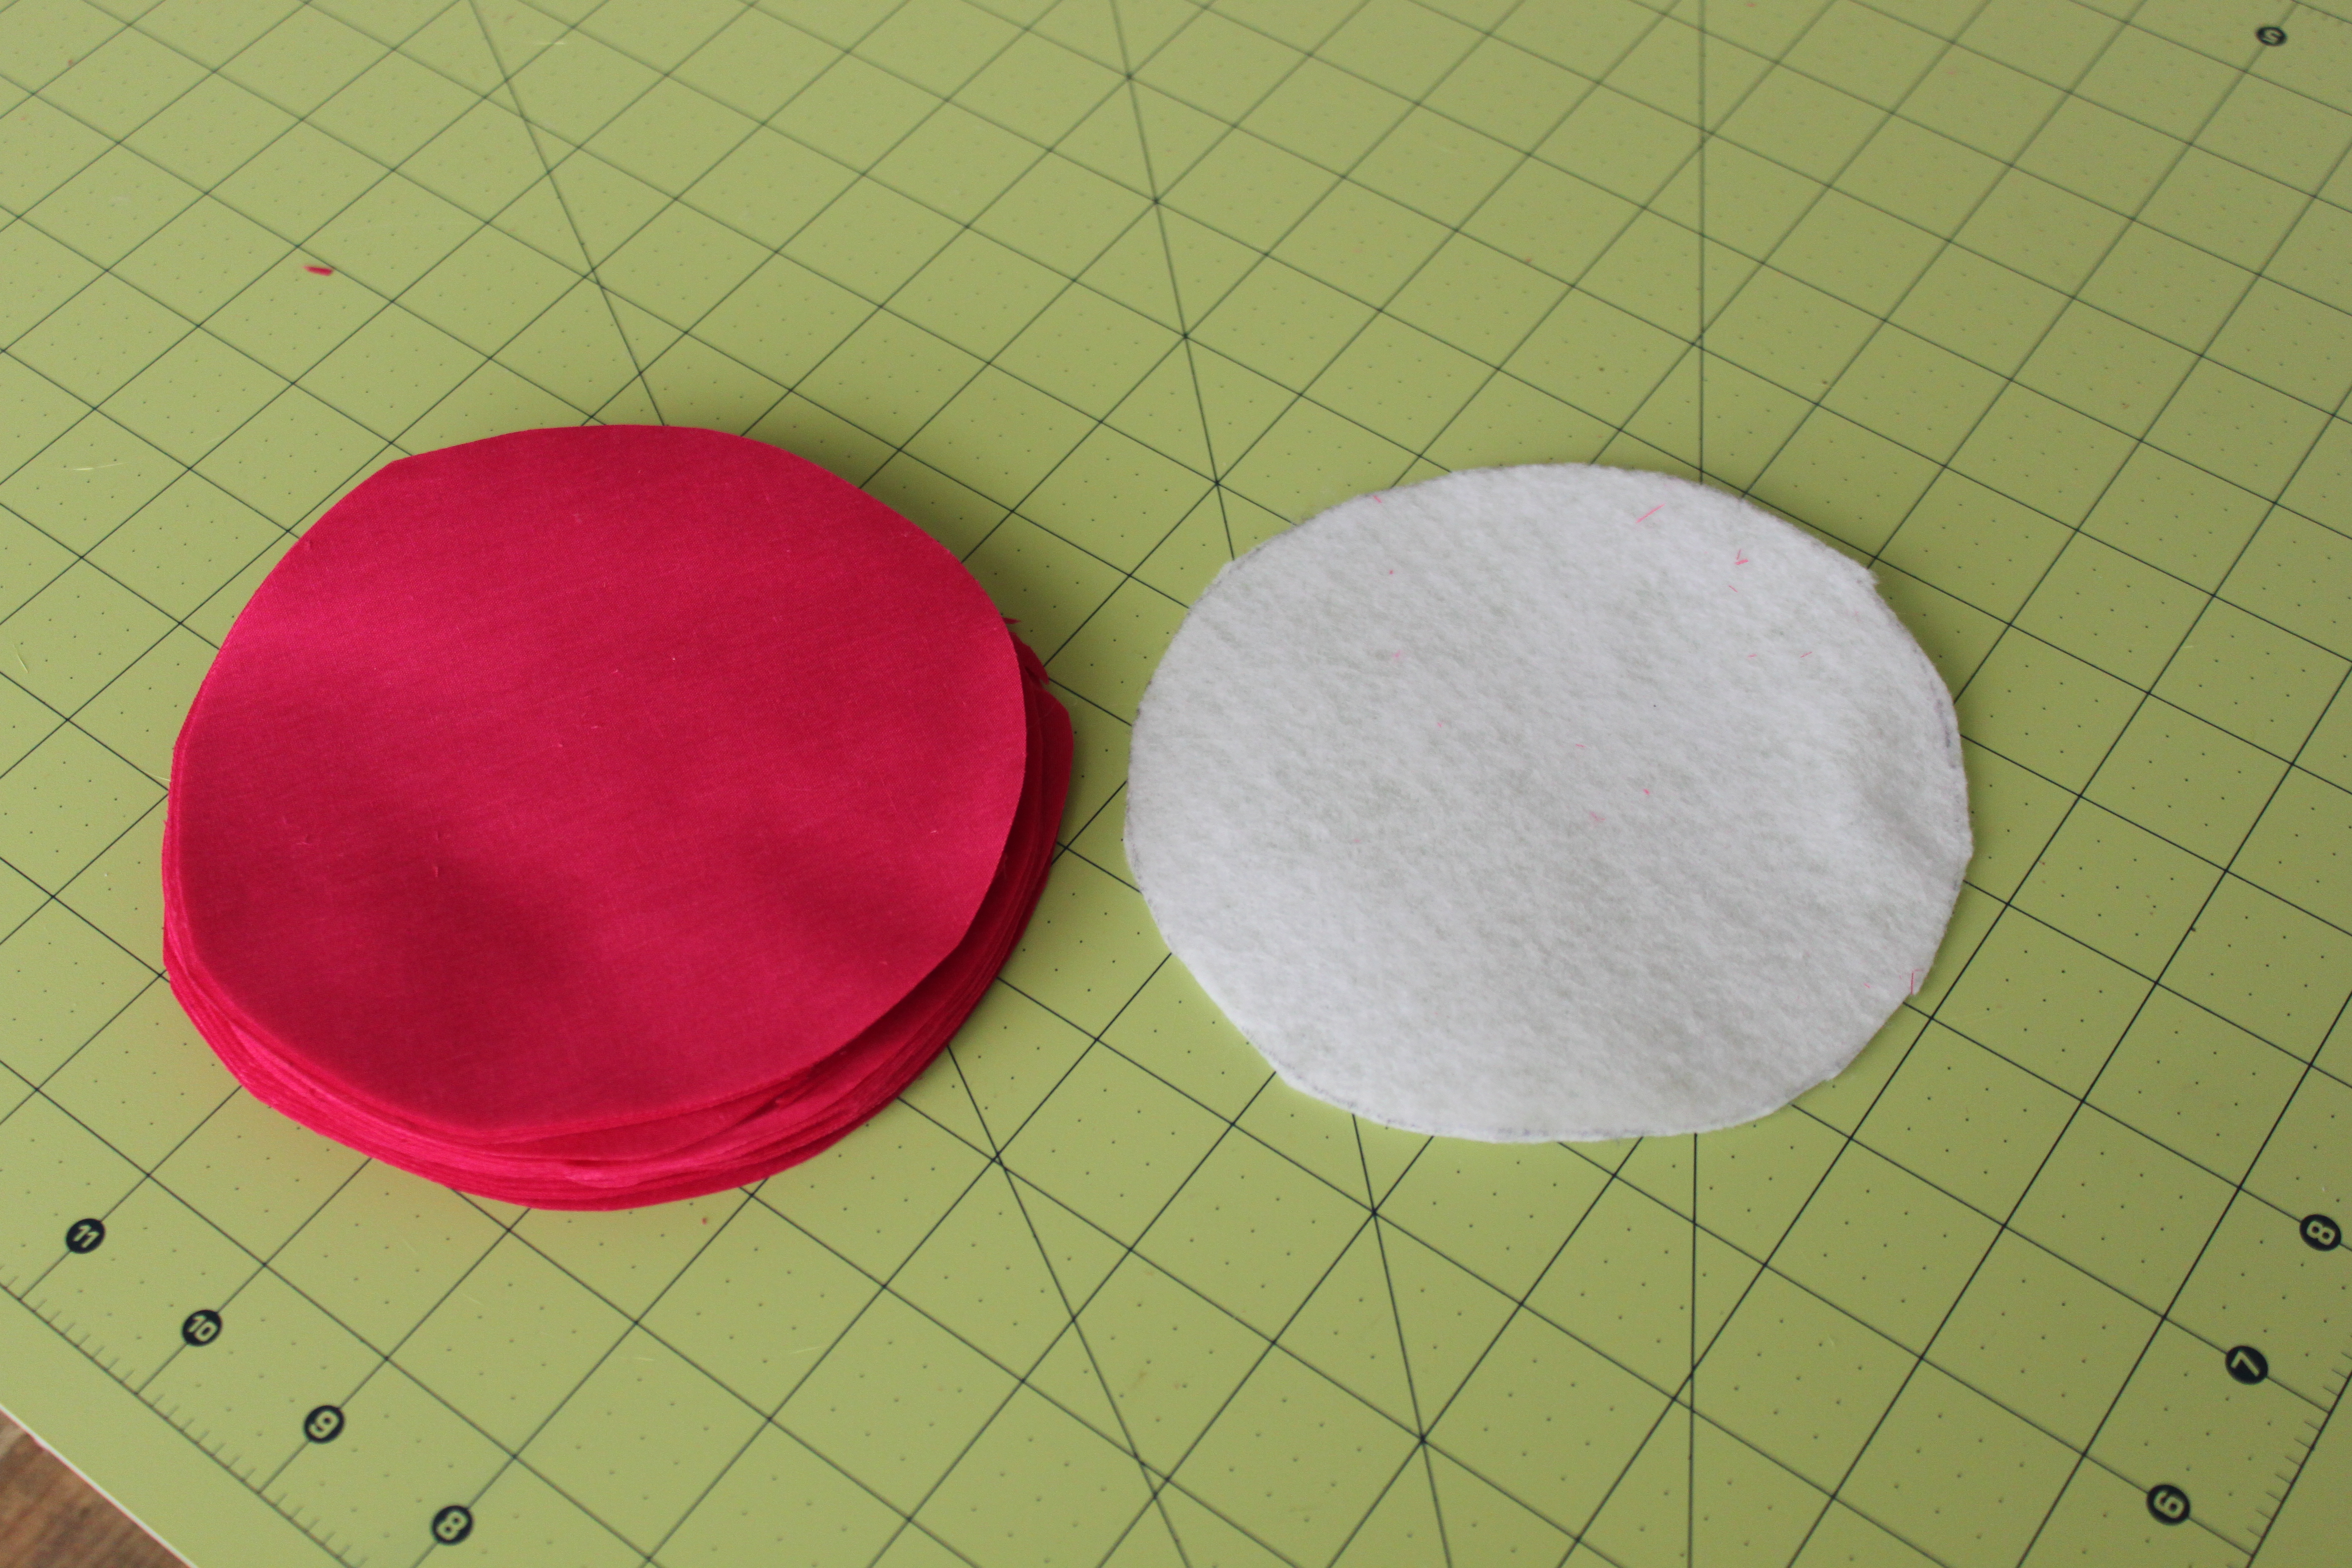
1. Cut a felt circle that has a diameter of 5 inches. This will serve as the backing for the flower.
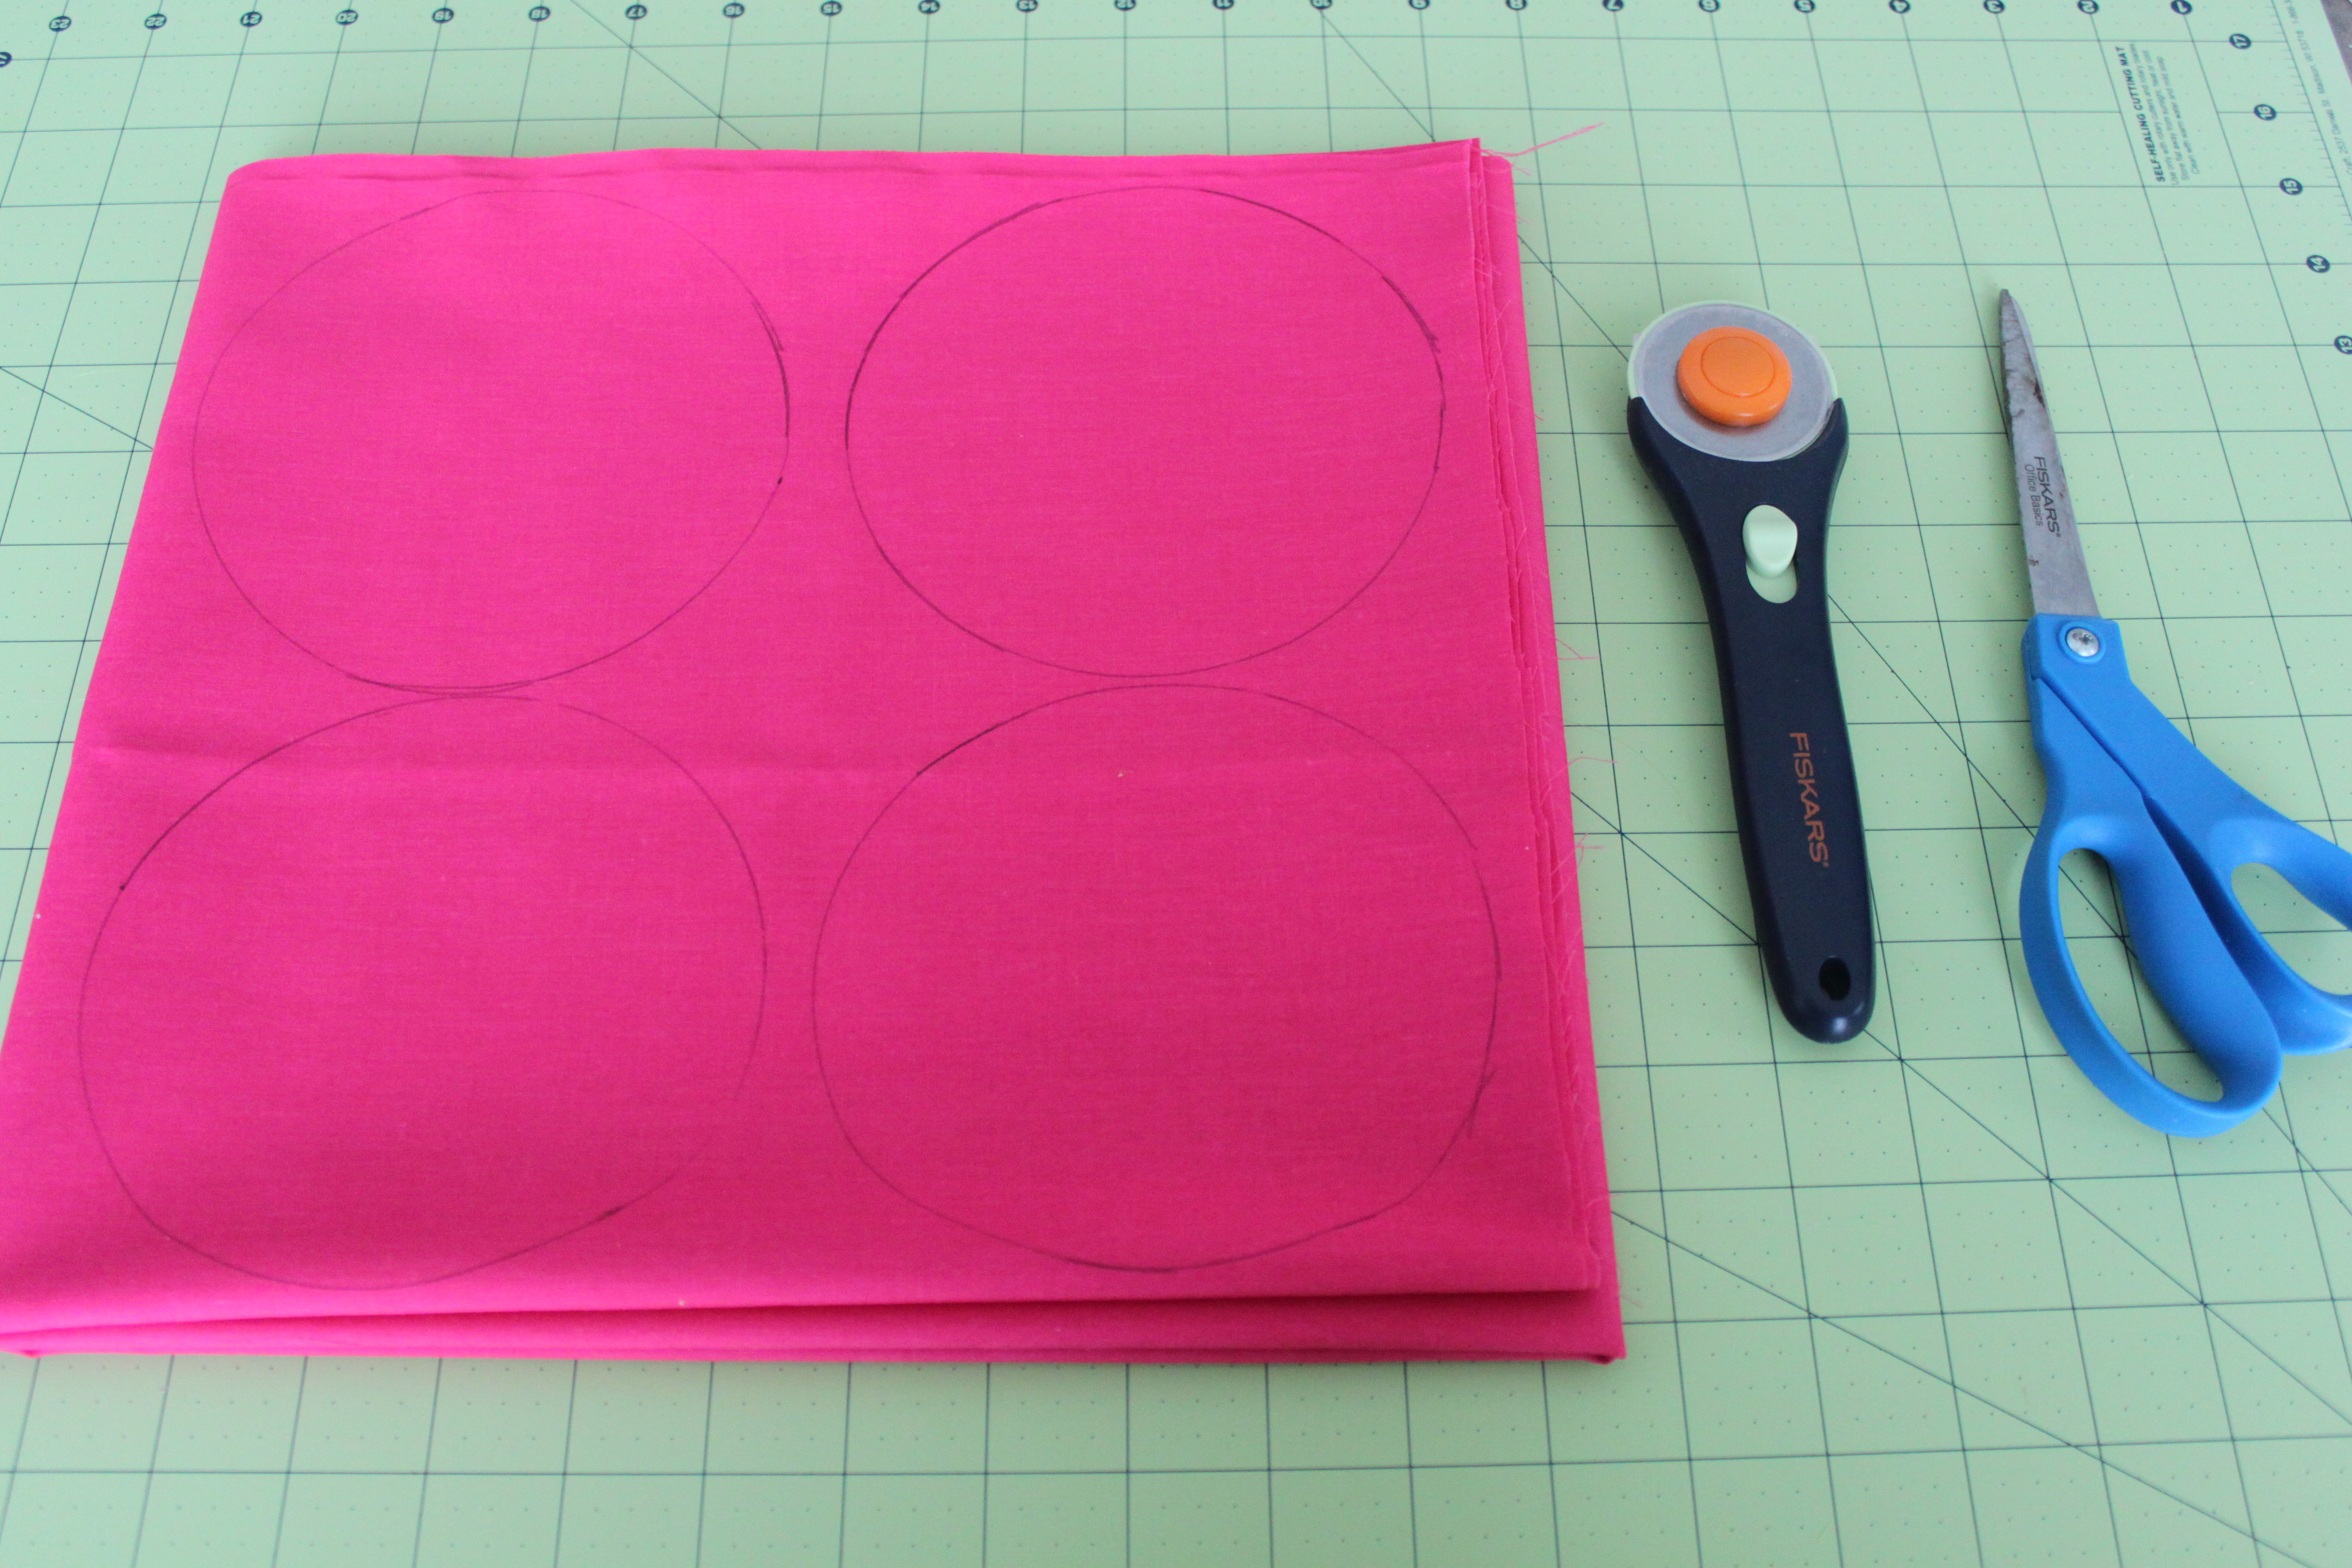
 2. Fold the fabric so you can cut out as many 5 inch diameter circles as possible from the yard. If you have a rotary fabric cutter like I used, I folded the fabric so I only had to make four cuts, since it cuts through quite a few layers. If using a scissors, you’ll probably have to spend a little more time cutting out the circles.
 3. Now that you have your circles cut out, you’re ready to begin the flower constructing process!
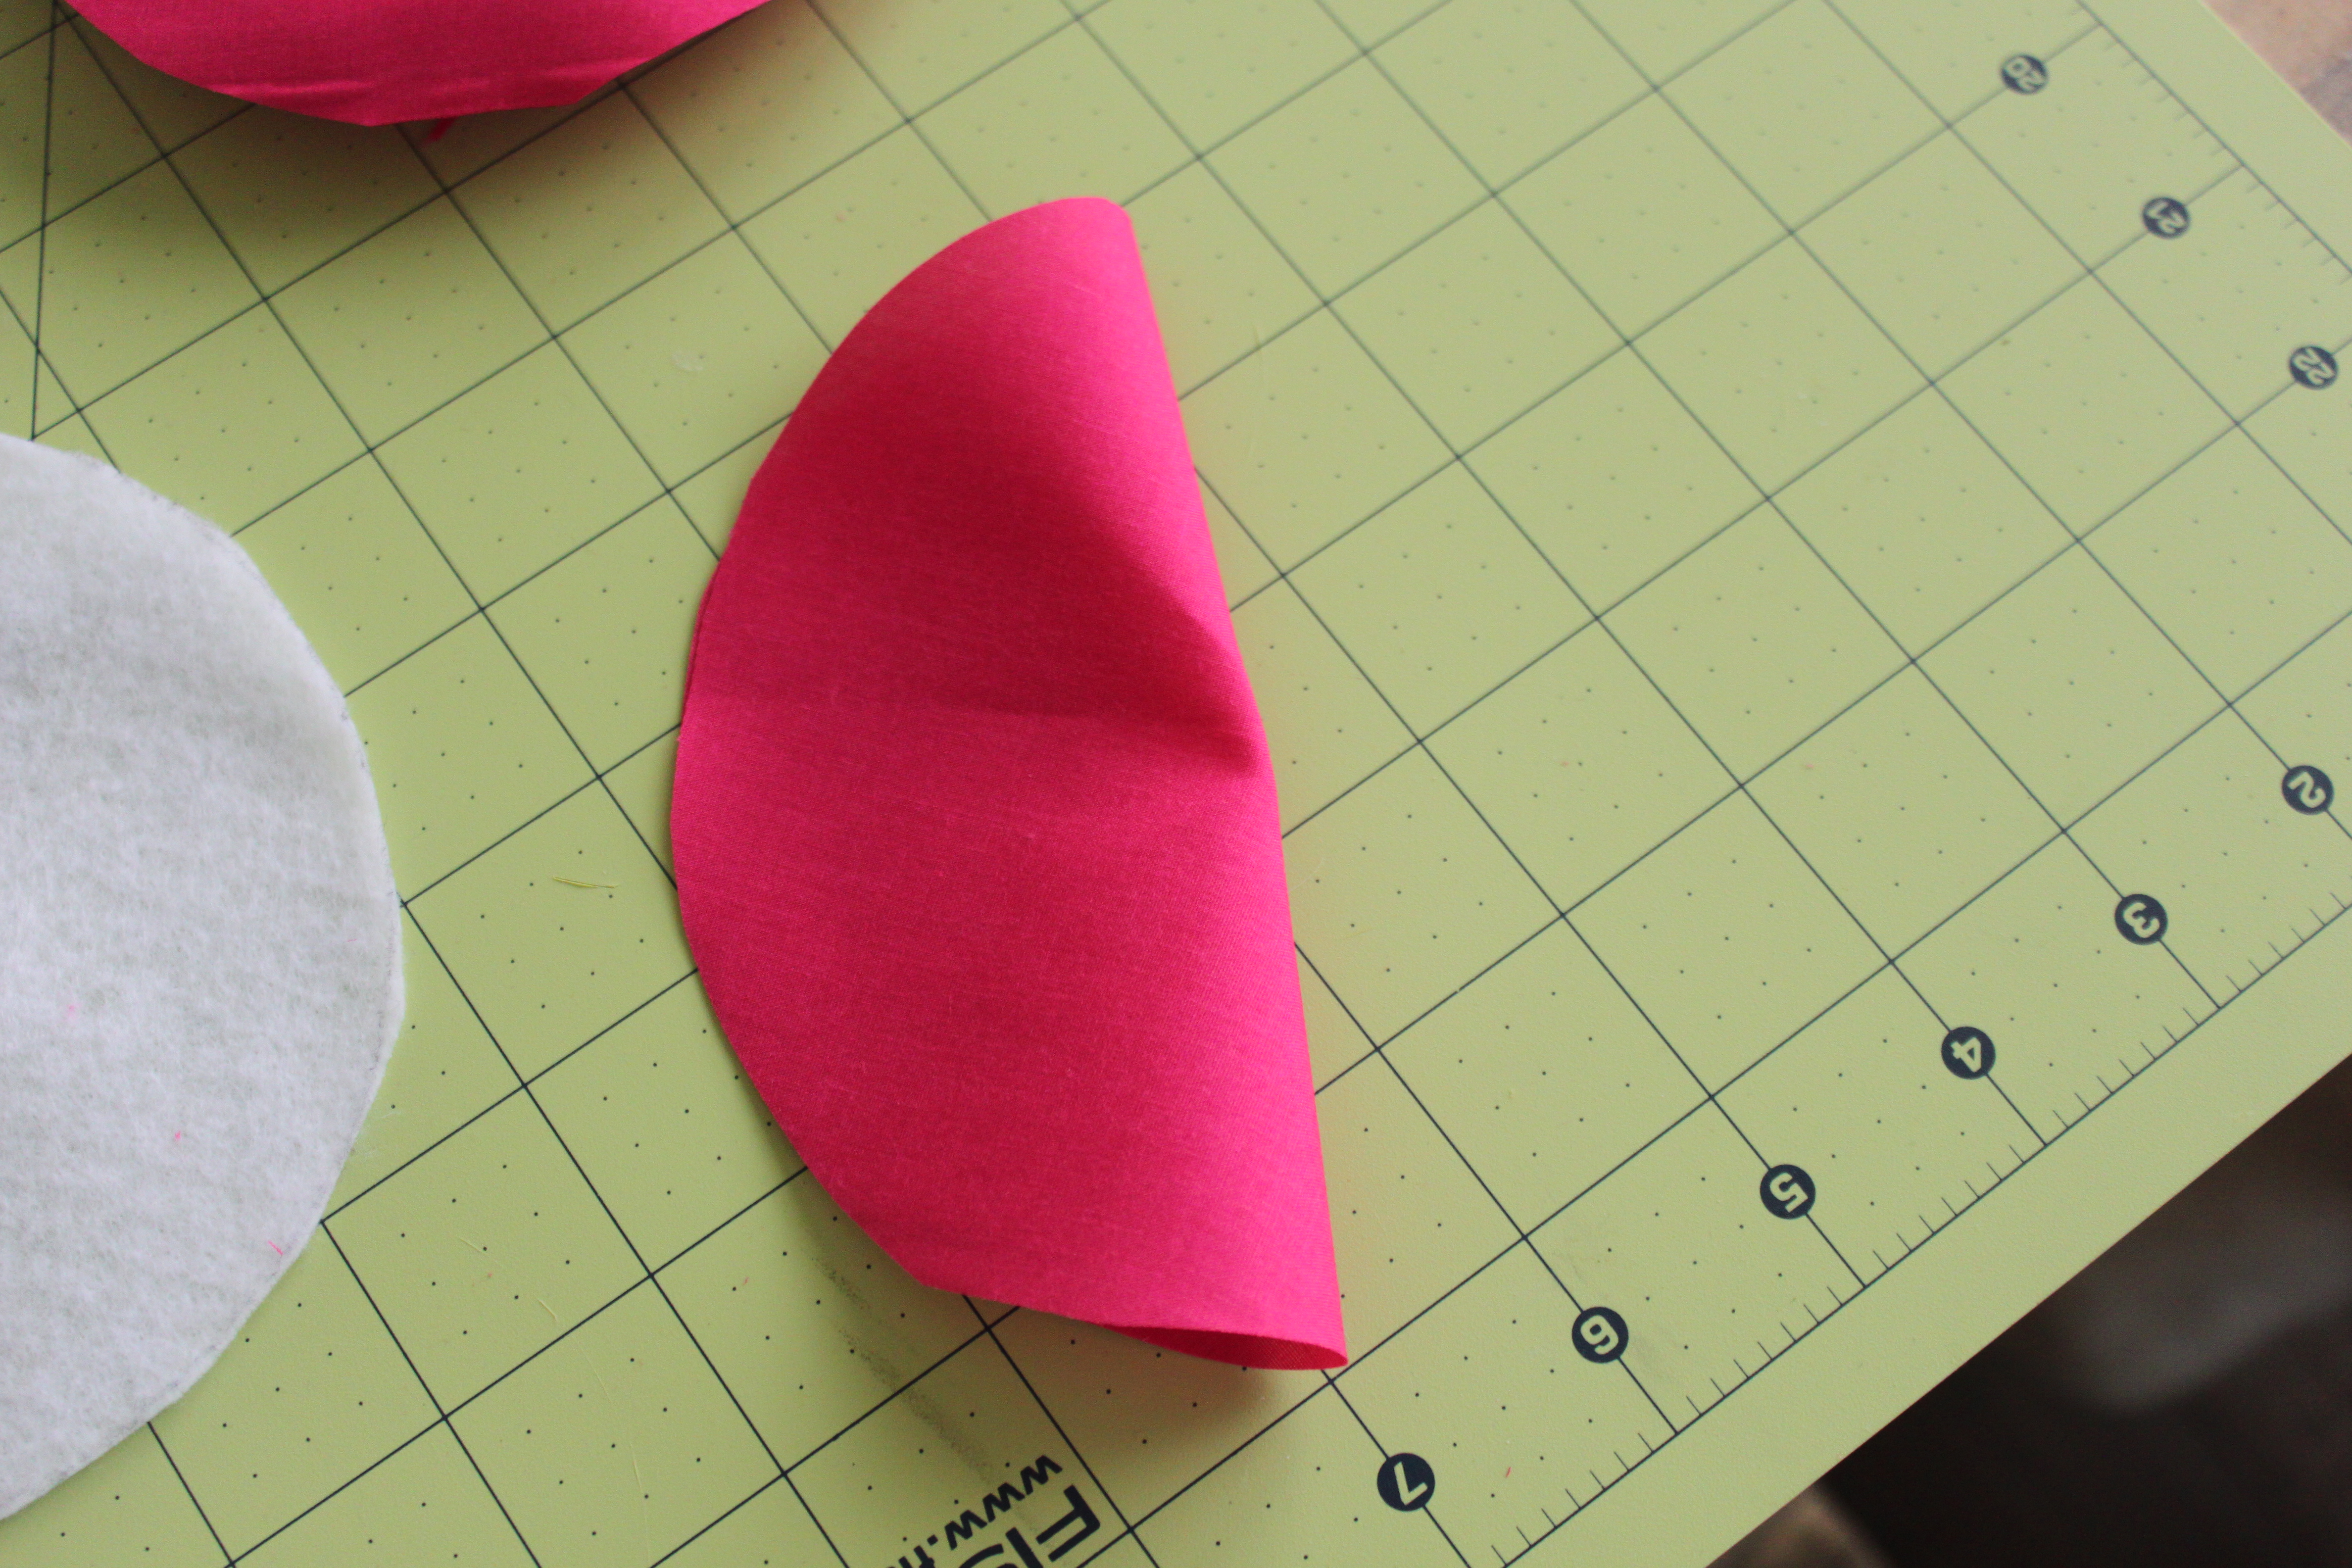
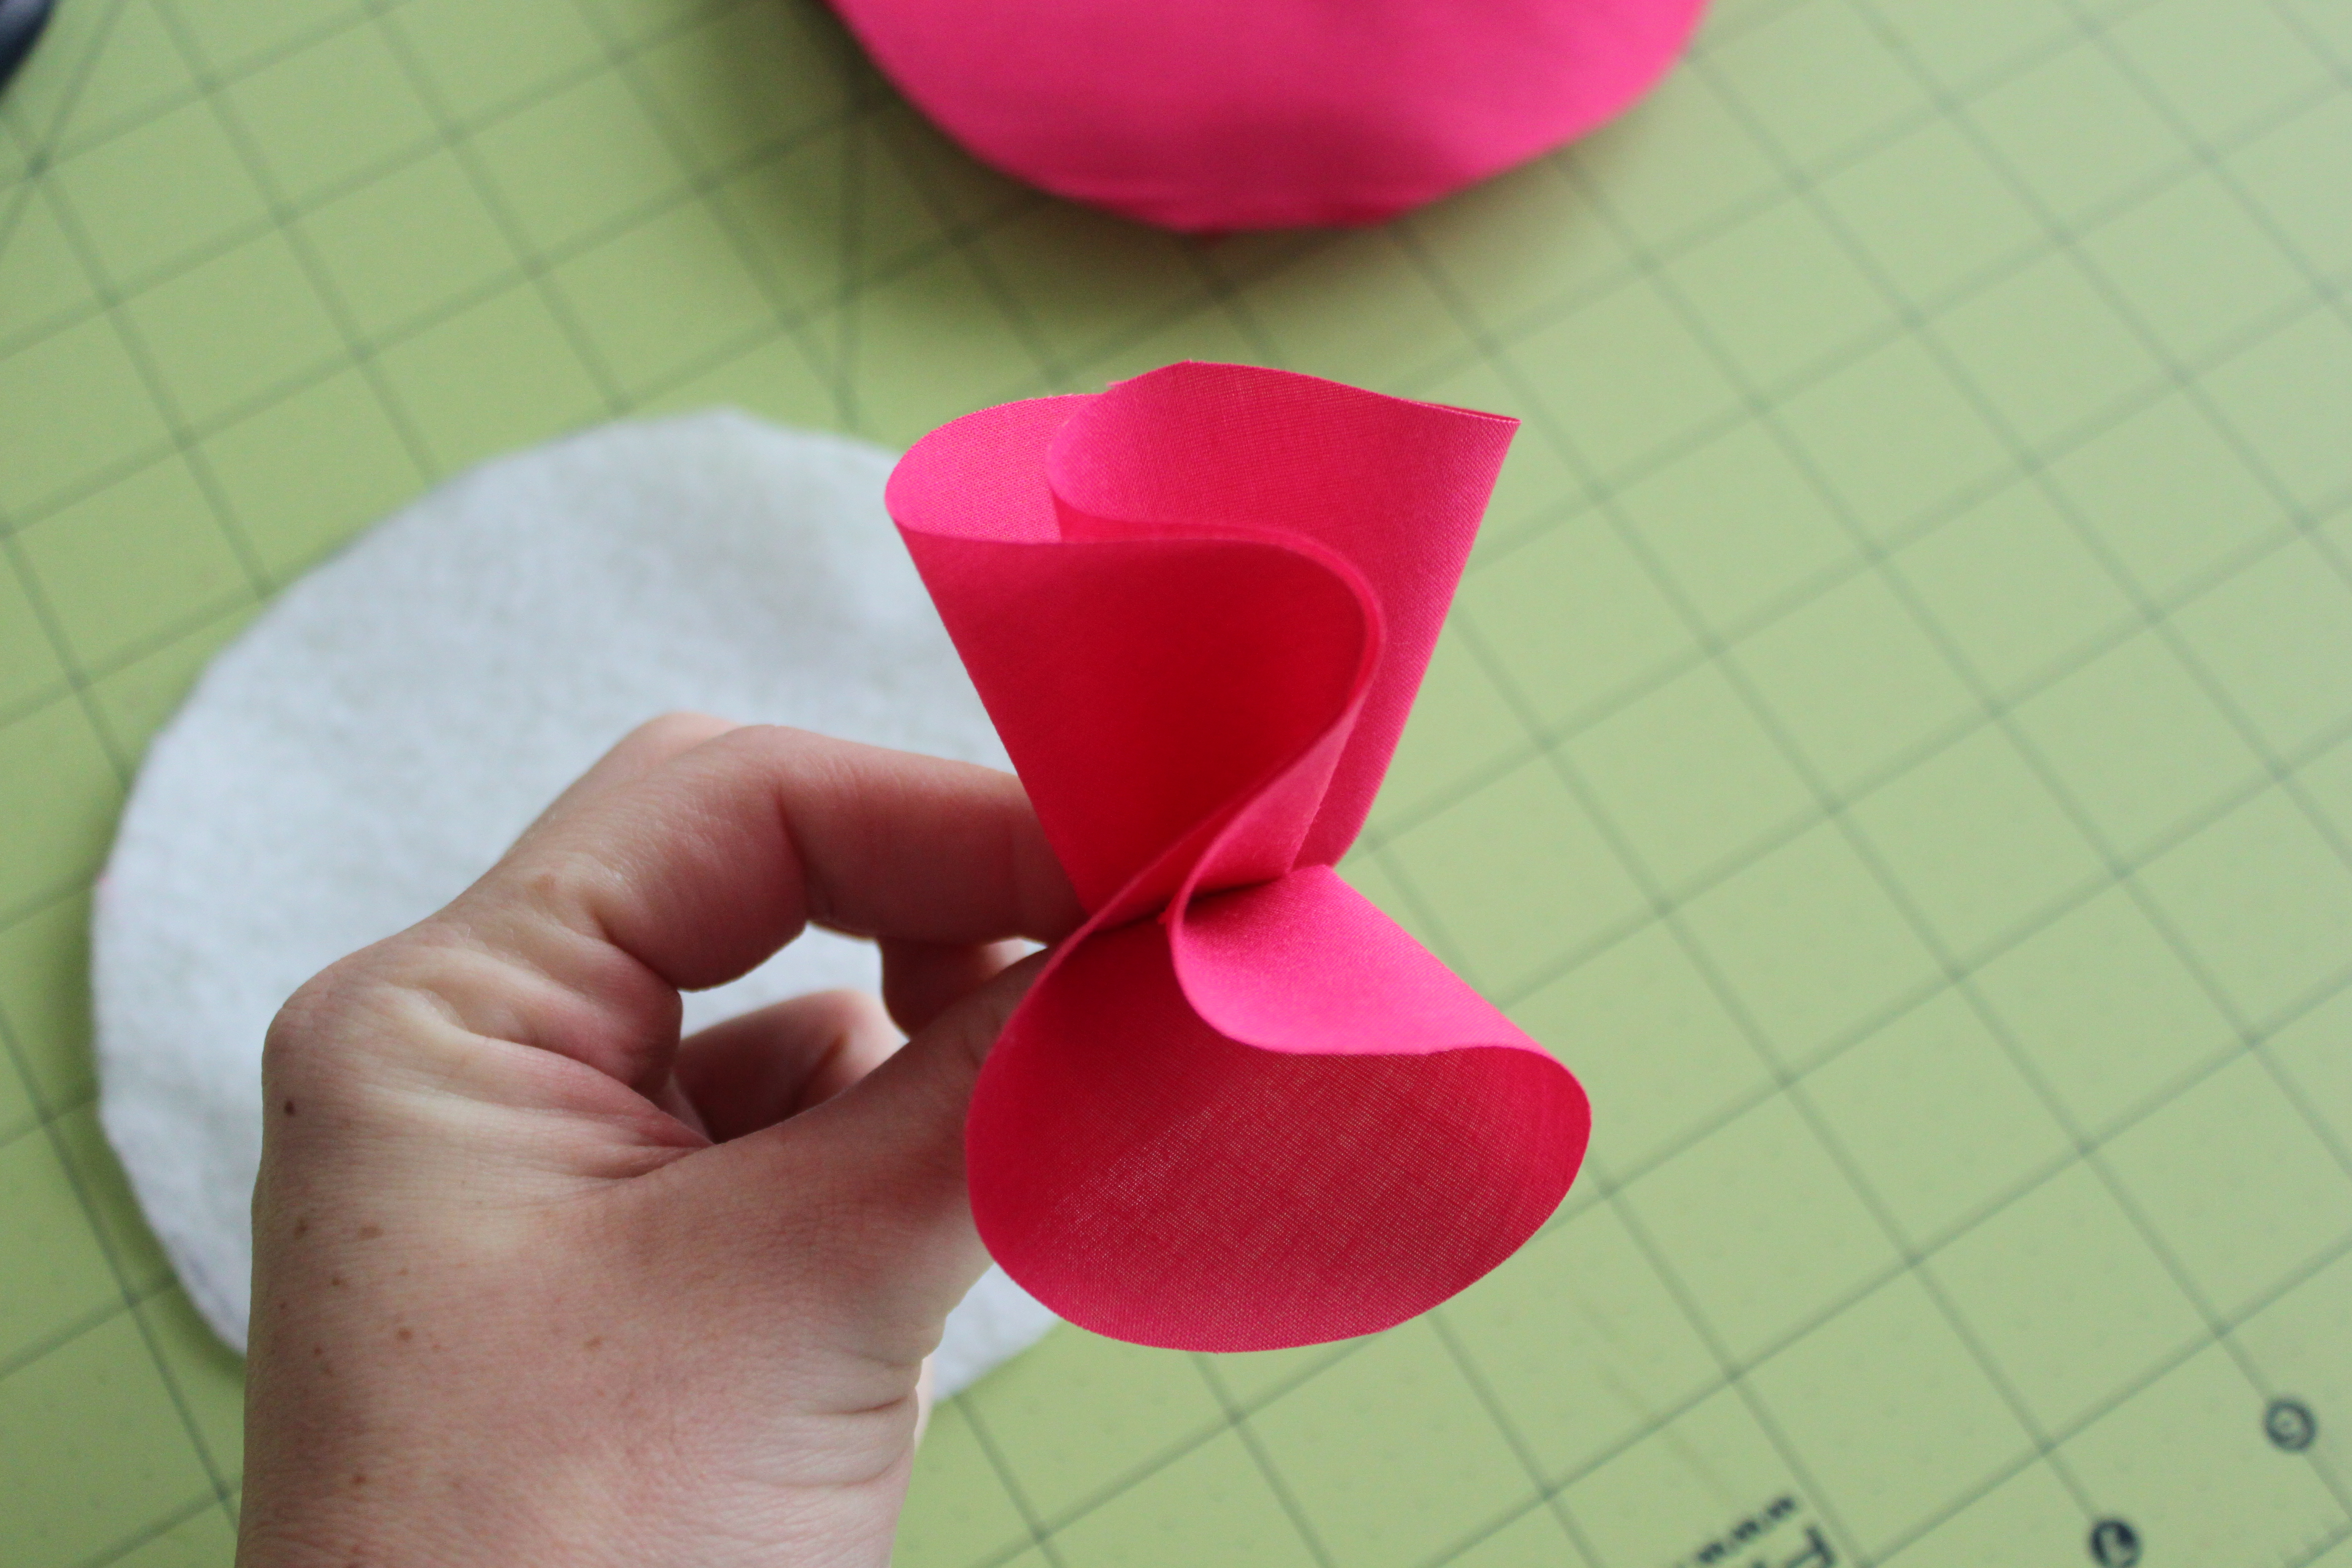
 4. Taking one fabric circle at a time, fold it in half both ways until you have a shape that looks like the second picture below.
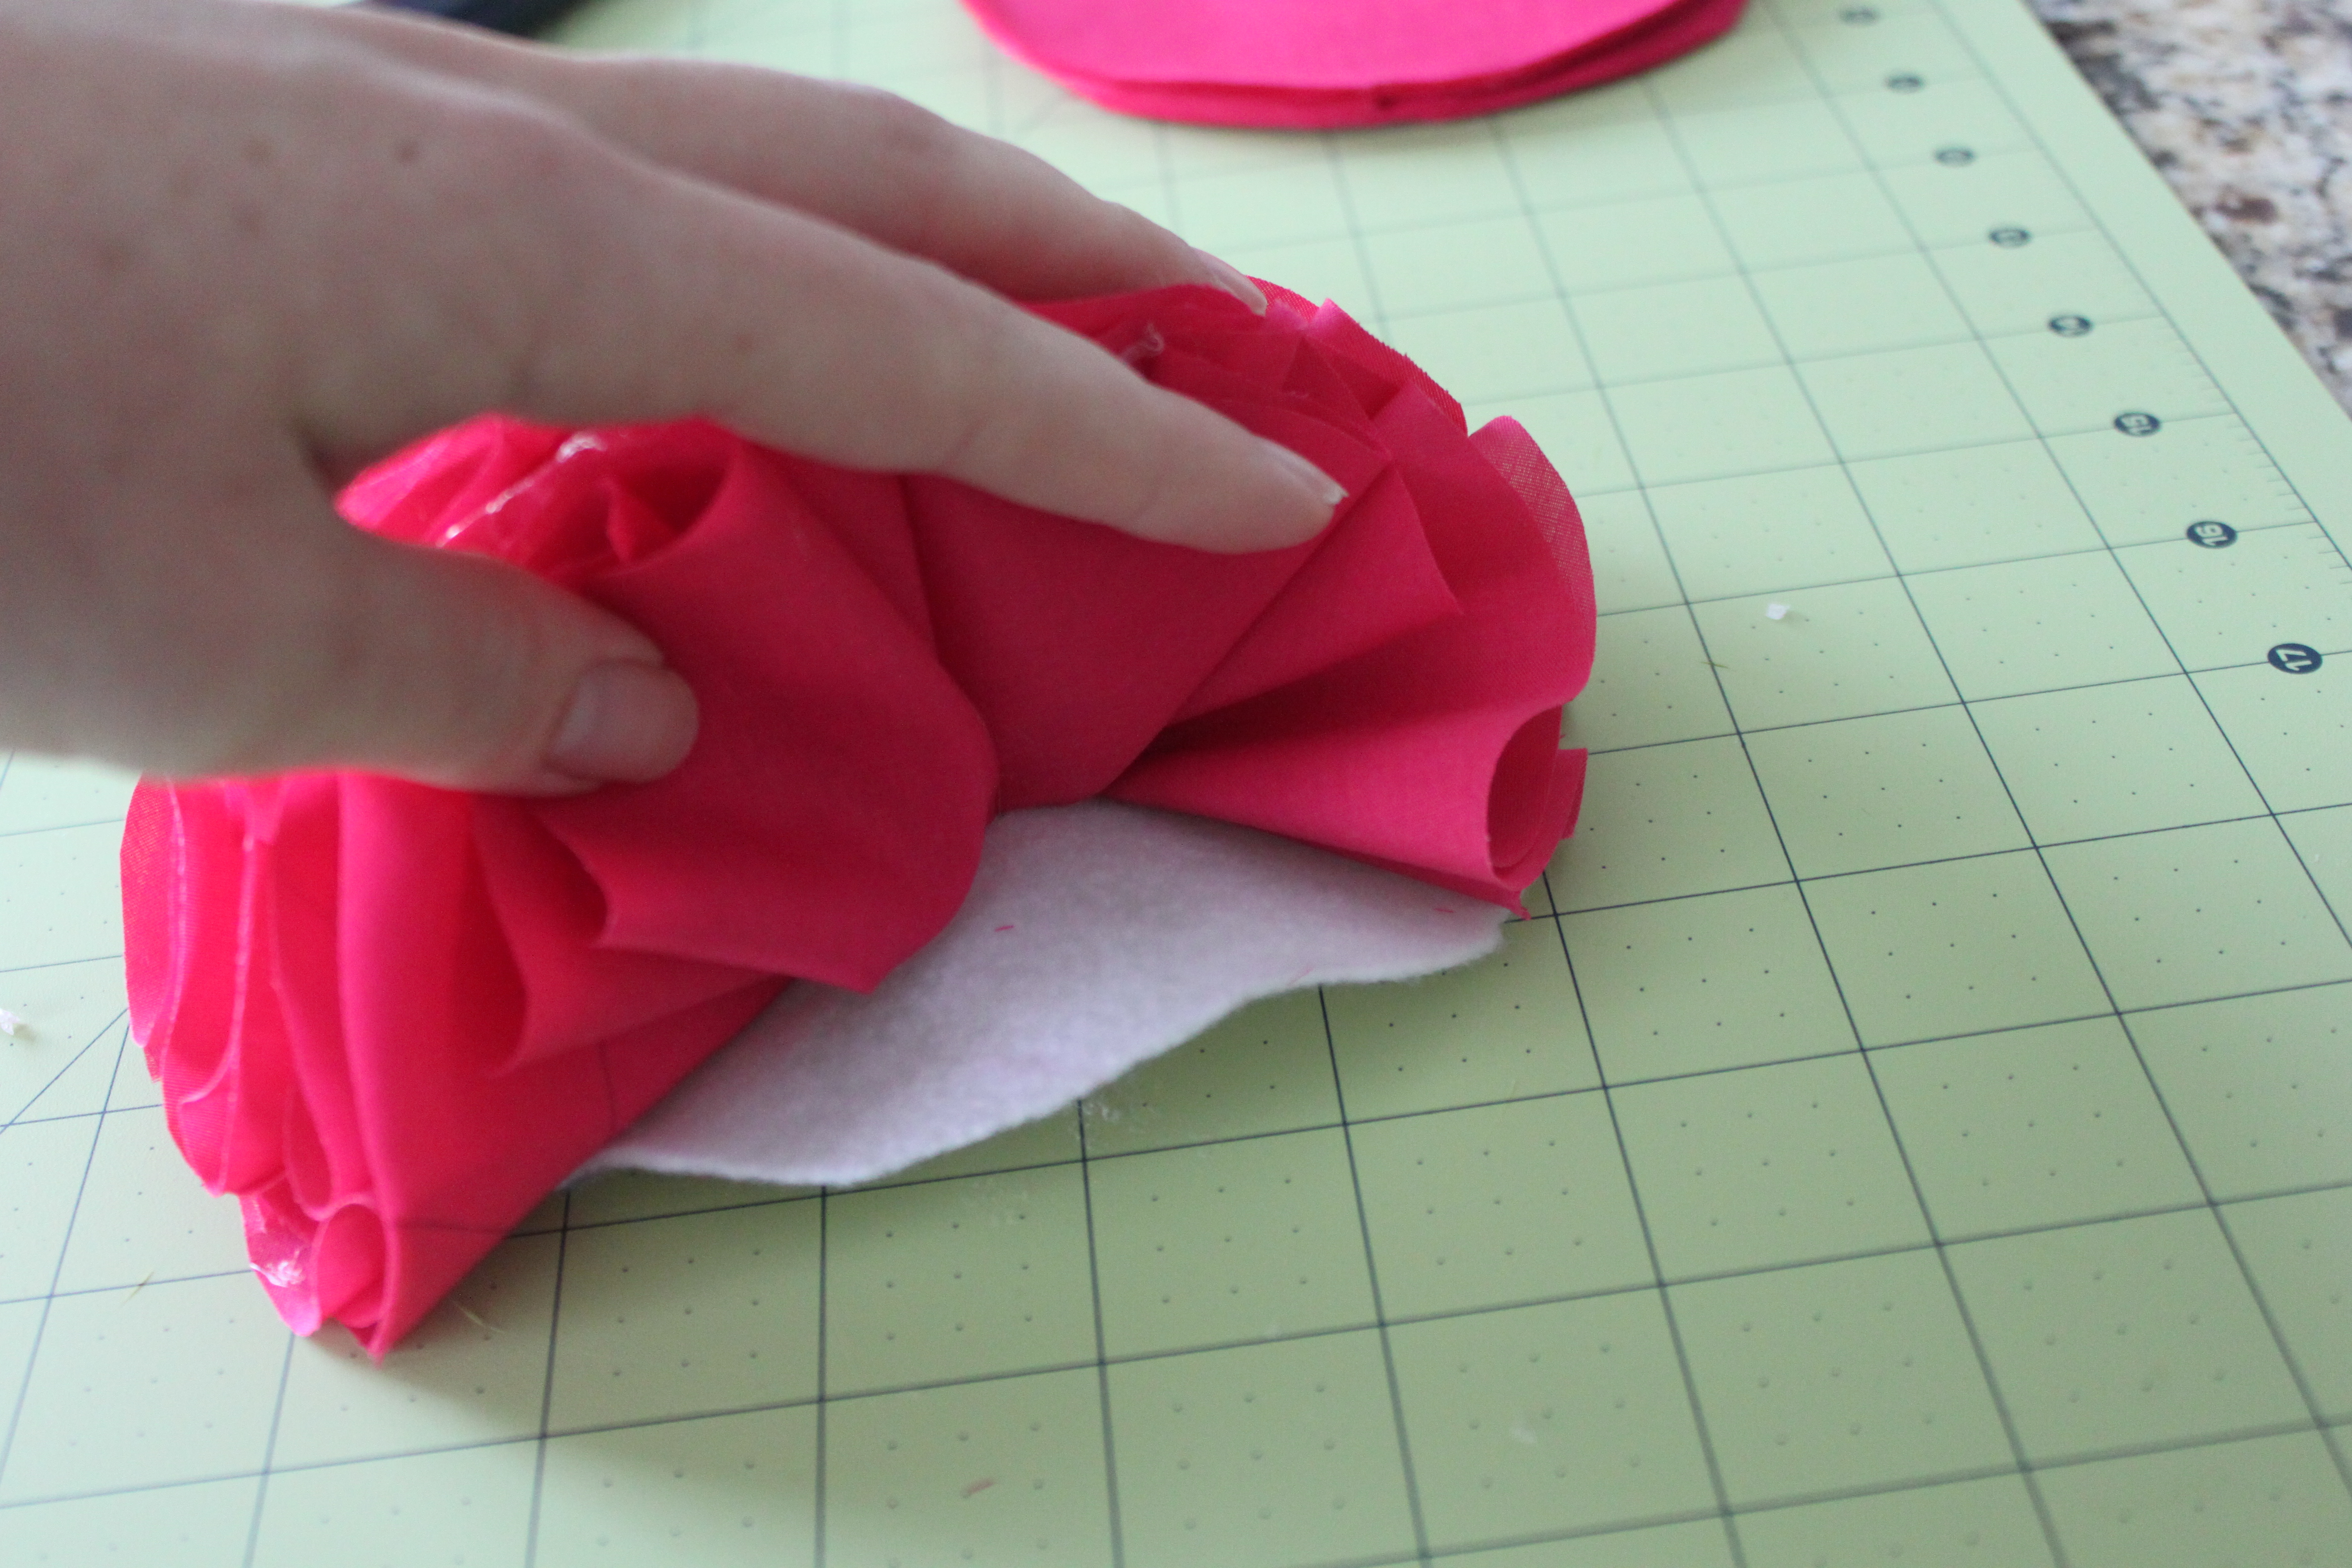
 5. Place a dot of hot glue in the center of the felt circle and glue the tip of the “petal” to the felt, pushing down firmly with your fingers. Be careful not to burn your finger with the hot glue.
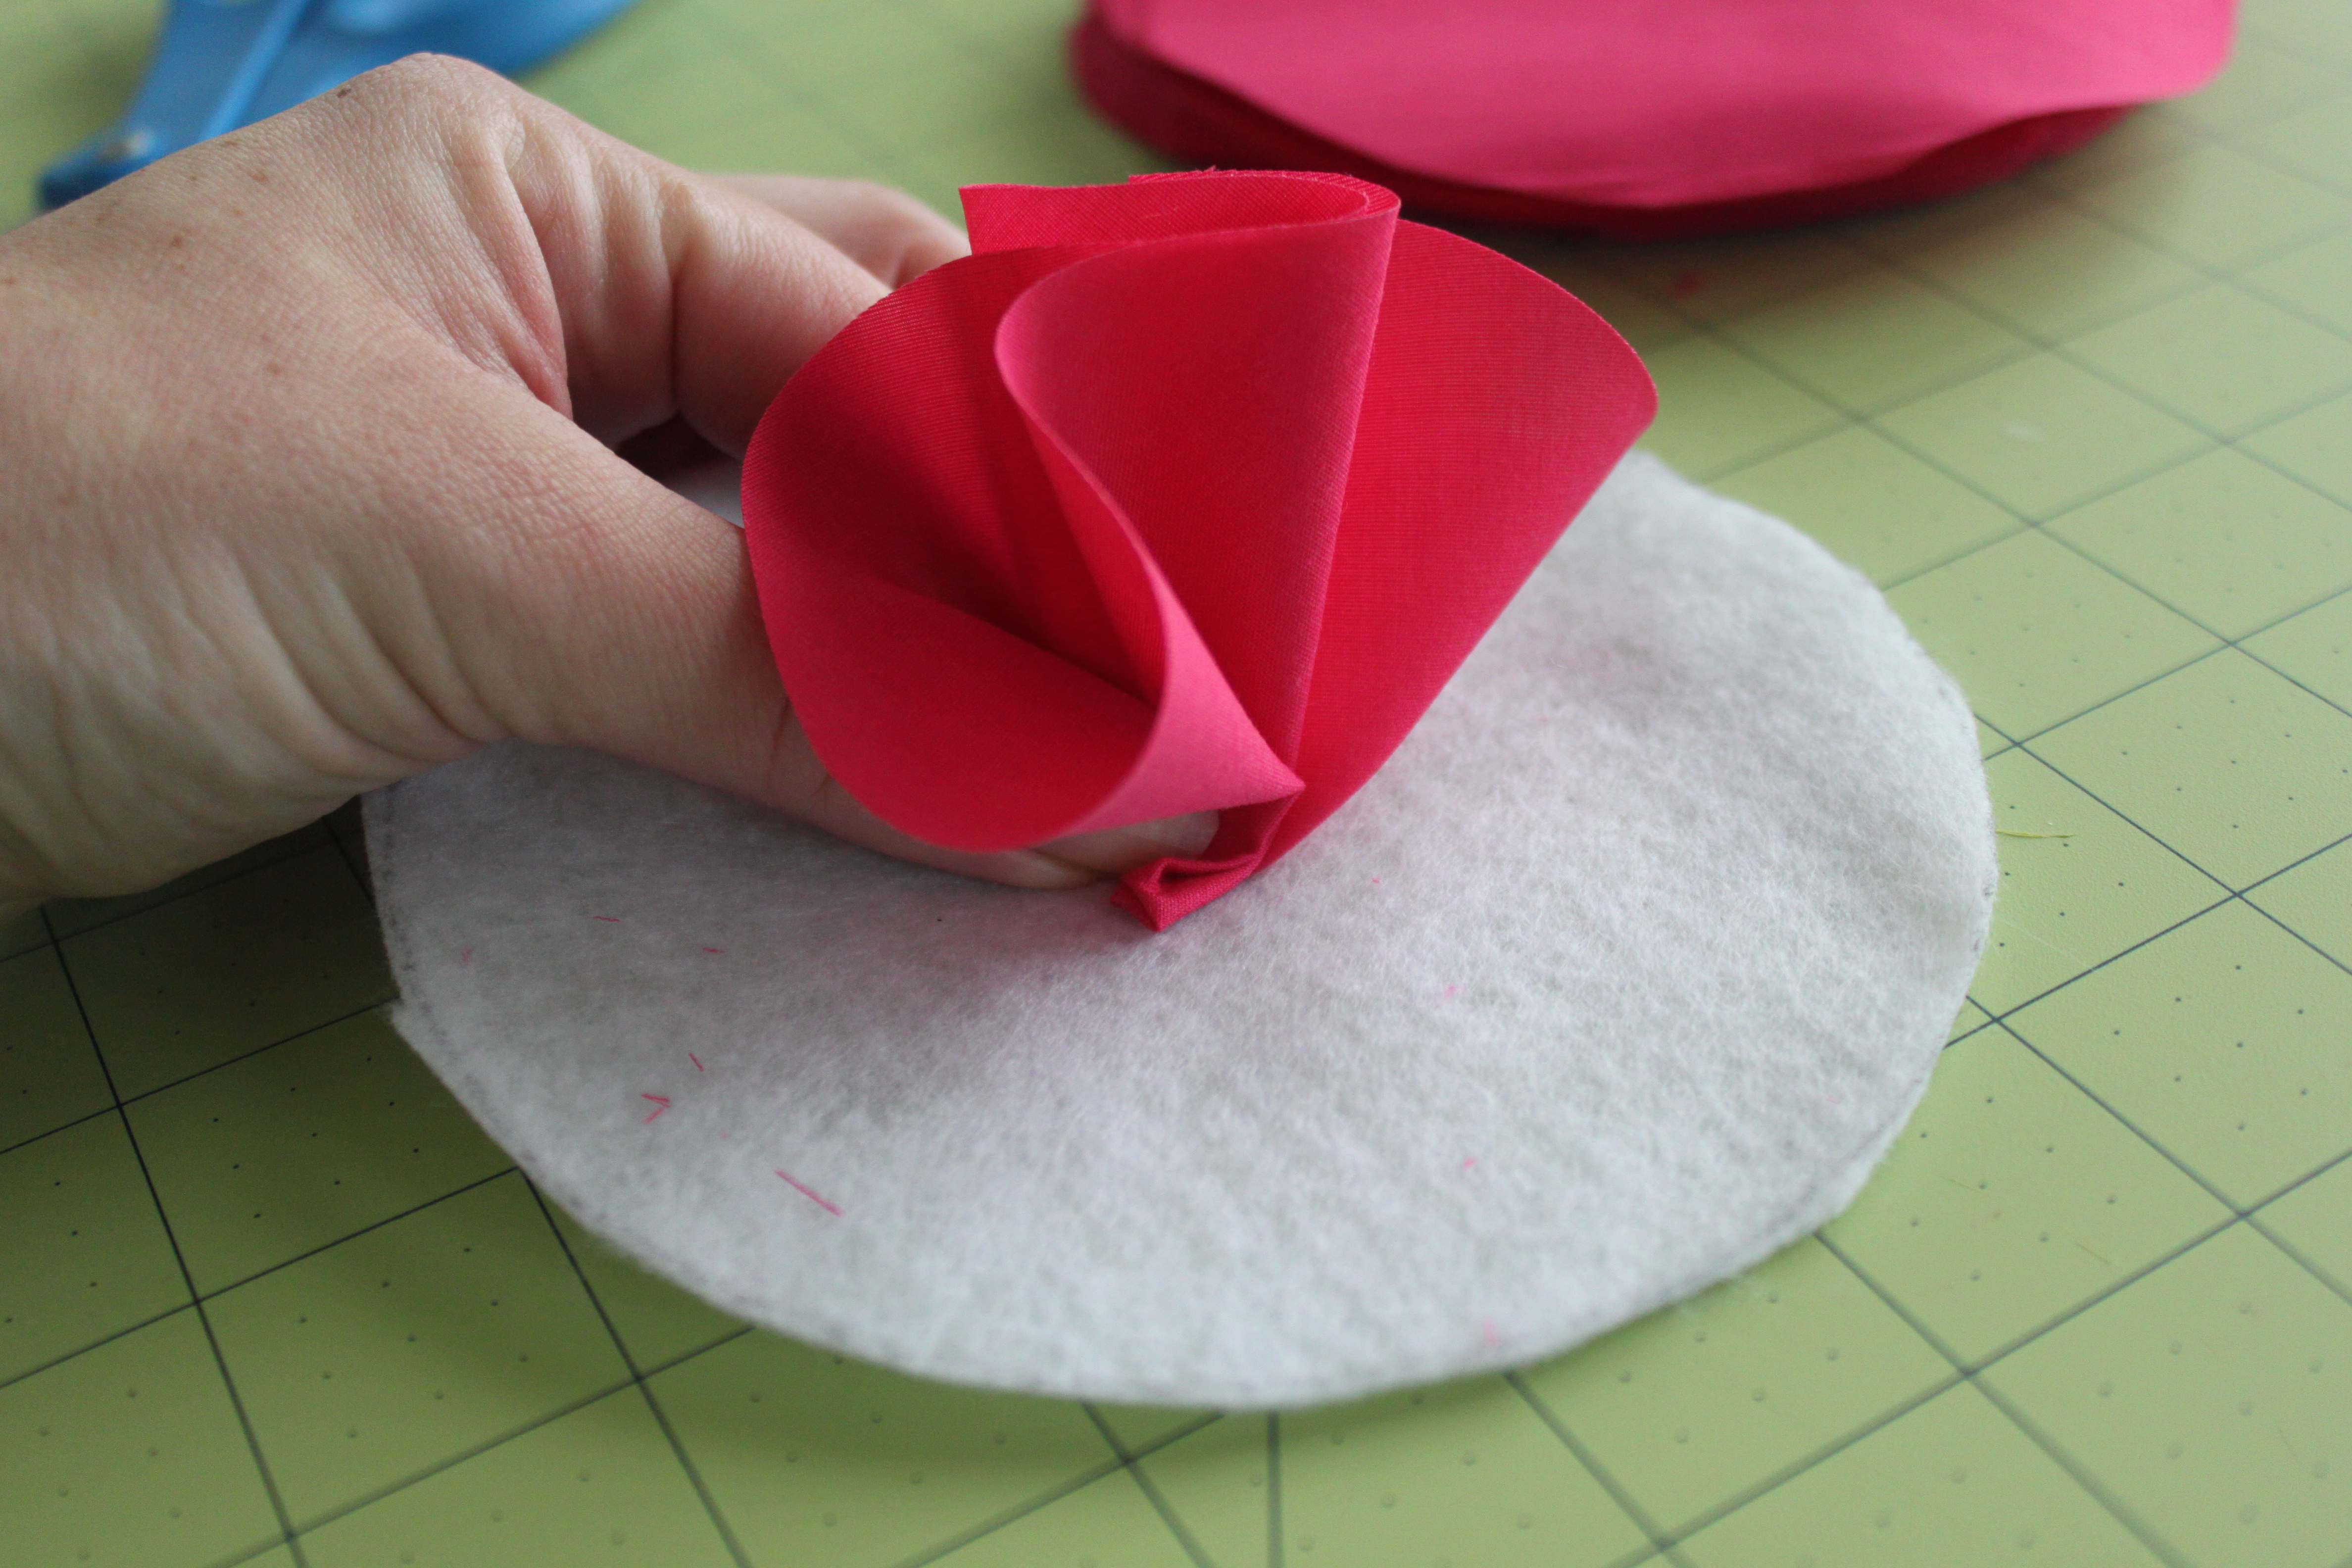 6. Repeat that process, working in a circle from the center of the felt to the outside, placing the tips of the petals as close to each other as possible.
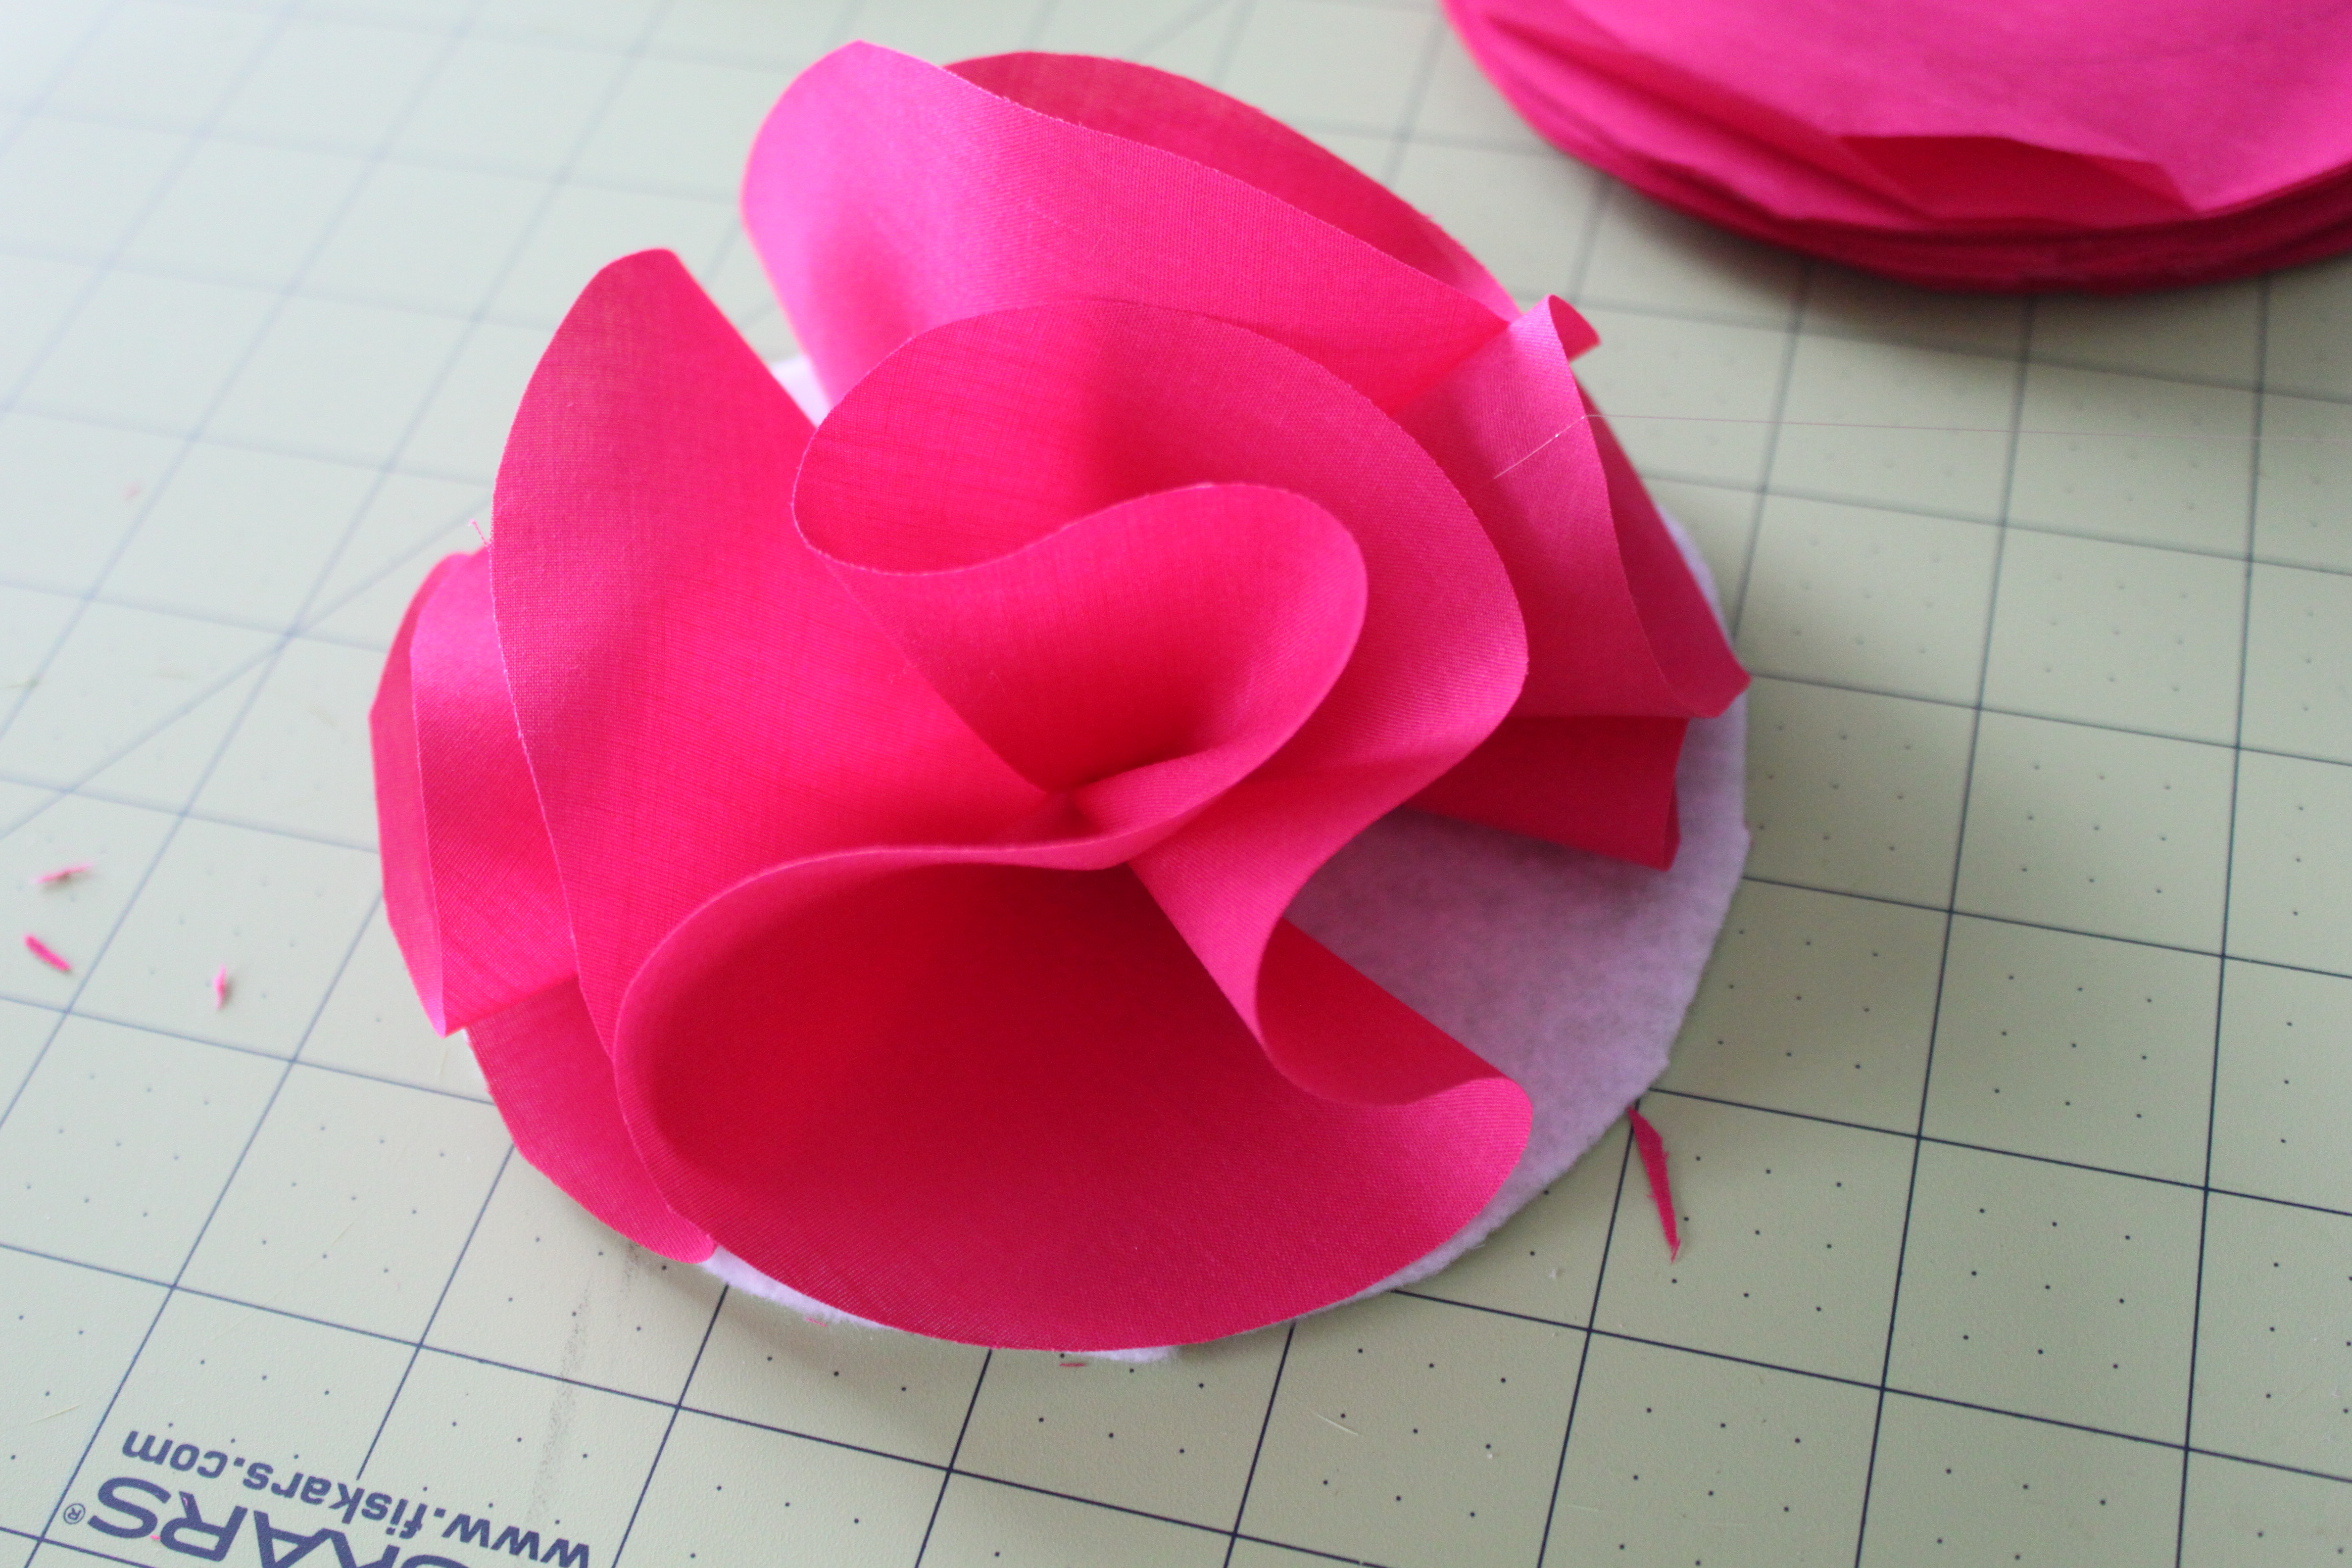 7. Be sure to lift up the previous petals before you glue the next piece to make sure you cover all the felt and your flower is nice and plush.
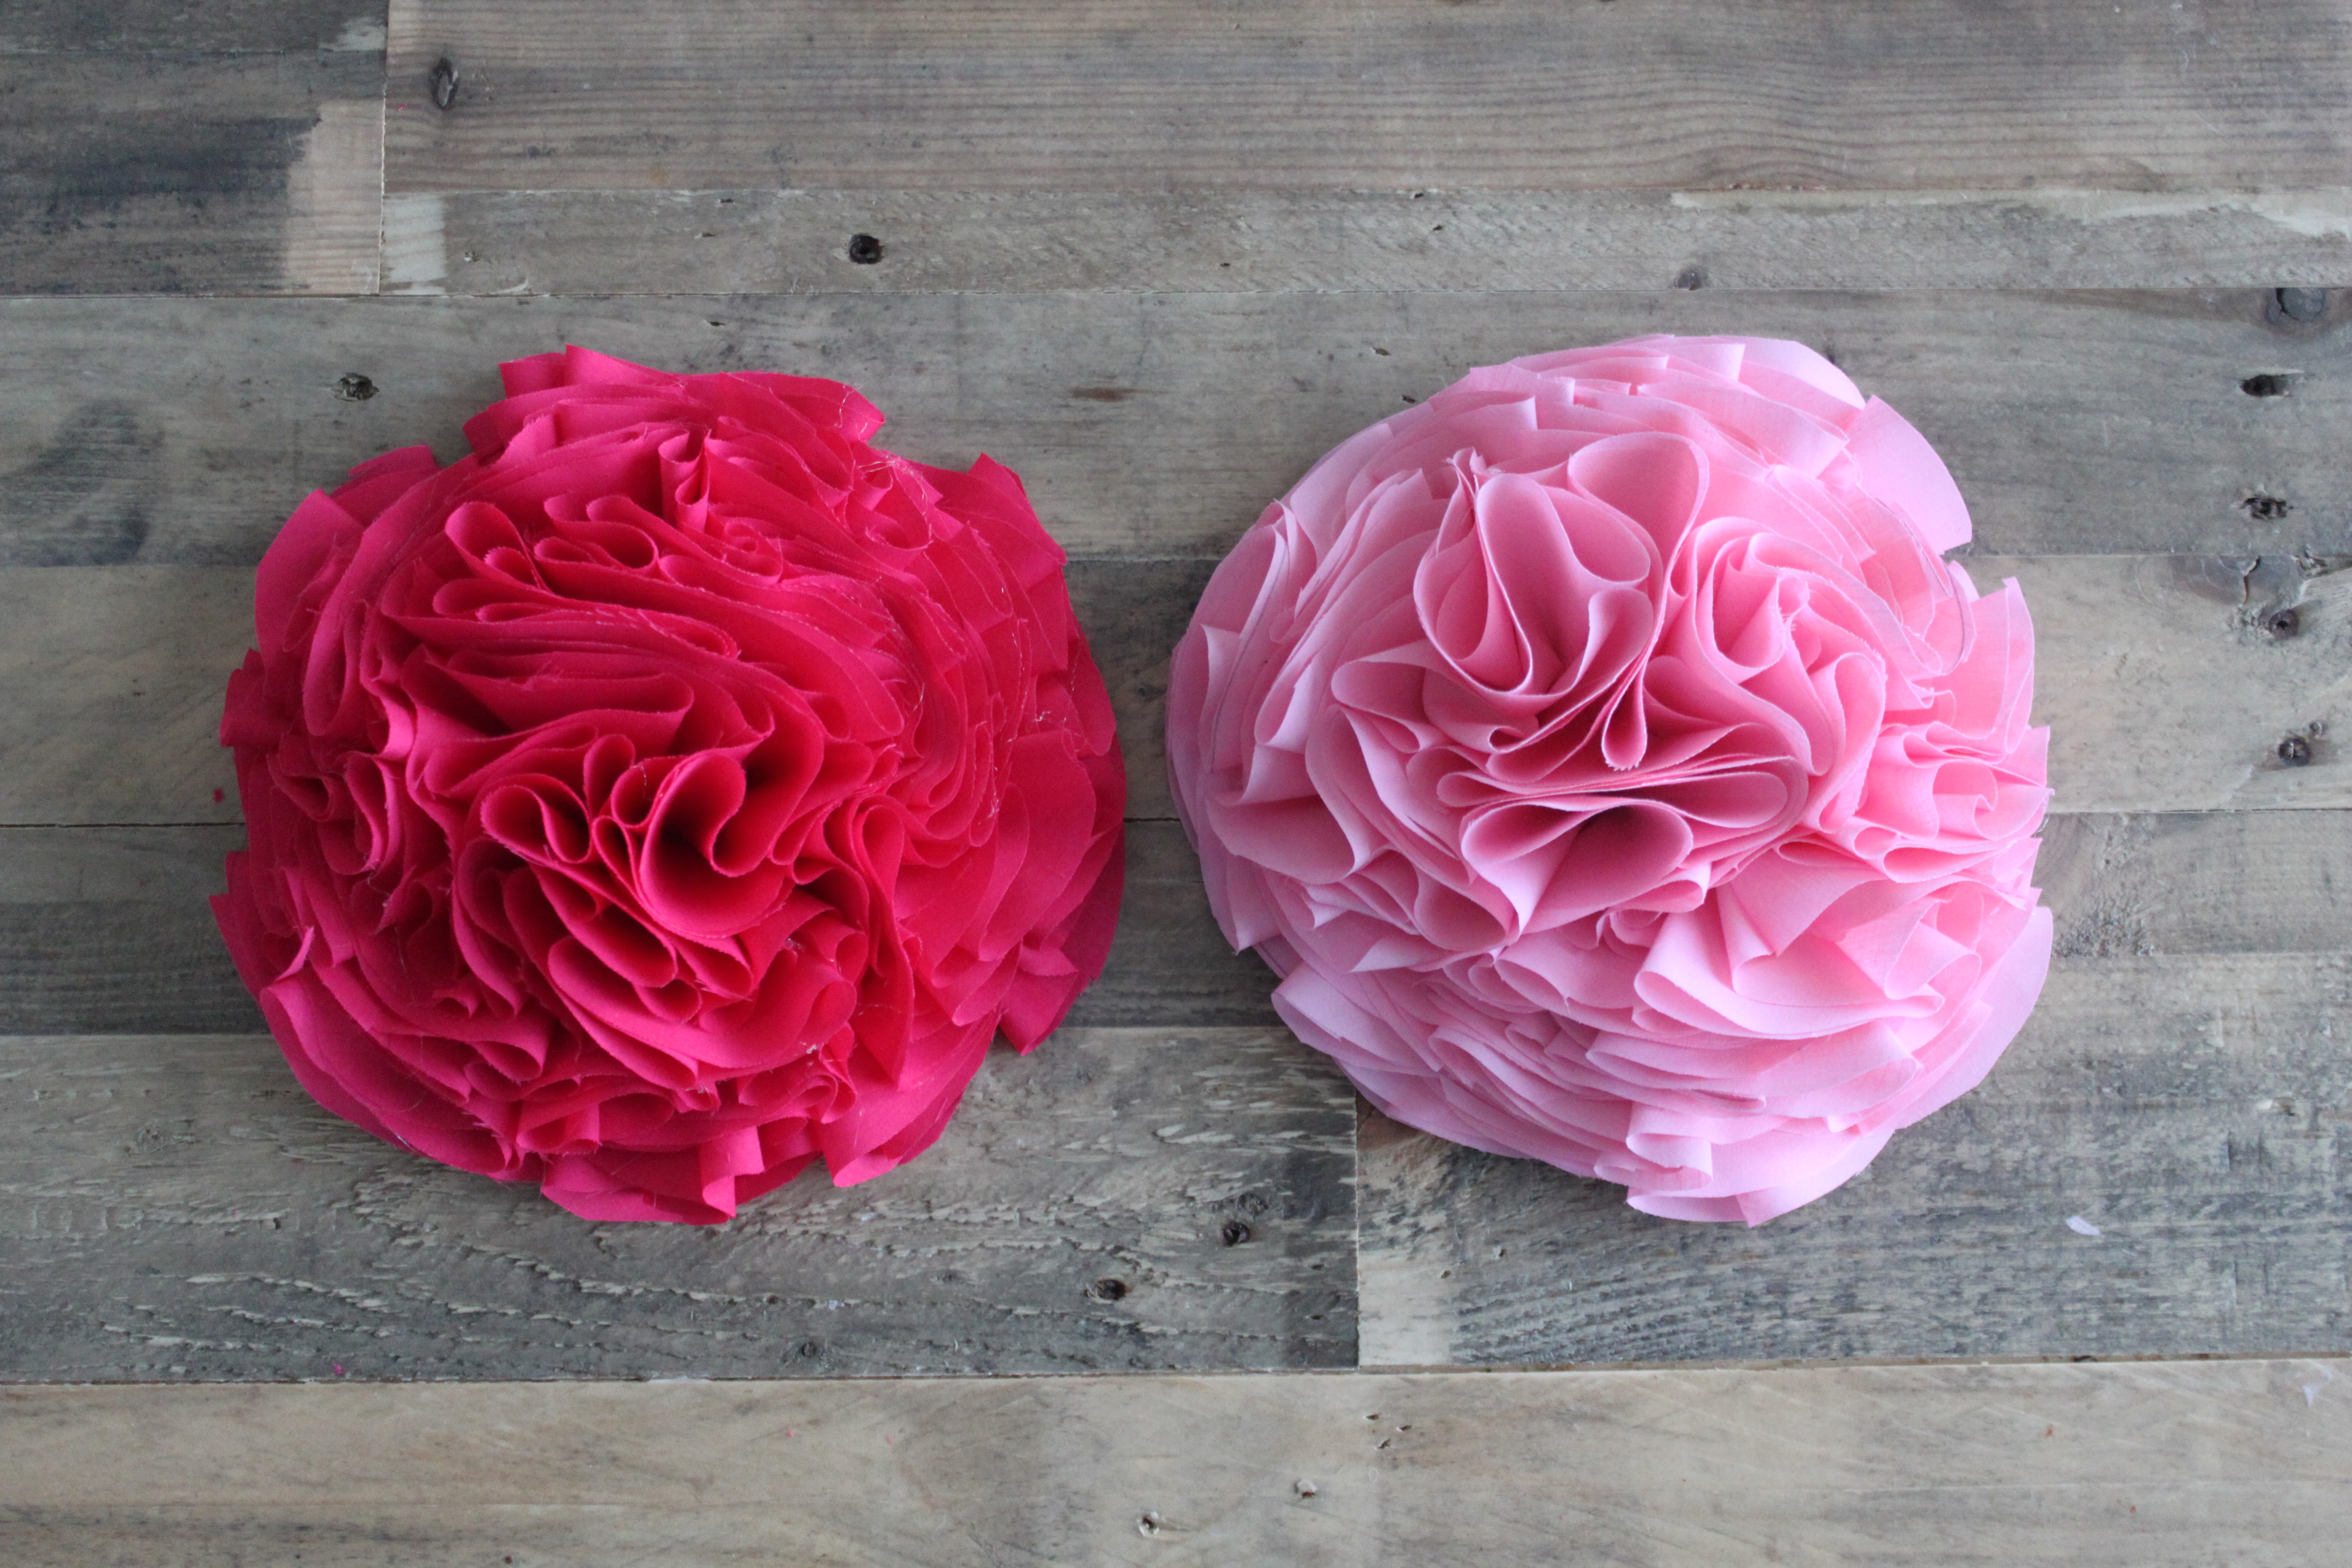
 8. The flower is finished when you’ve used up all the fabric!
 Here’s a sneak peak of how our flowers are looking in the nursery! I’m excited to finish the rest of them up! Be on the lookout for a nursery reveal post sometime during the next week!
 Question: Have you done a DIY flower project of any sort? If so, please share what you did and how you used it!
Happy crafting!
Amber
P.S. For more reflections on parenthood and life, follow us on Facebook (Hun Let’s Run) and on Instagram: @ambermariekuiper and @jakekuiper! We’d also love for you to subscribe to our Hun, Let’s Run Podcast! For more info about joining our fitness community as a customer or coach, please email us at amber@mommysmetime.com!
4 Comments
What a cute little idea! I love how the chalkboard turned out, too. I am starting to miss our roommate time and knowing what is going on with you guys at all times!
Cute! Excited to see the nursery reveal!!
[…] Craftyness: Fabric Wall Flowers. Also, loving her blog right now! I have an idea up my sleeve that is adapted from this tutorial […]
[…] made the fabric wall flowers, and Jake made the chalkboard, which we’re planning to use to track feedings, dirty diapers, […]